The goal is to be able to display text in our Main Activity from an implicit intent via the share feature in Android.
Steps:
- Modify the Android Manifest to receive an implicit intent.
- Setup Main Activity to display received text.
These steps assume you have at least a basic project set up in Android Studio.
Helpful links:
https://developer.android.com/guide/components/intents-filters
Modify the Android Manifest to receive an implicit intent
We will need to add the following to the <intent-filter> section of our Main Activity.
<action android:name="android.intent.action.SEND"
<category android:name="android.intent.category.DEFAULT" />
<data android:mimeType="text/plain"/>
A helpful note from the page Android Developer page:
Note: To receive implicit intents, you must include the
CATEGORY_DEFAULTcategory in the intent filter. The methodsstartActivity()andstartActivityForResult()treat all intents as if they declared theCATEGORY_DEFAULTcategory. If you do not declare this category in your intent filter, no implicit intents will resolve to your activity.
This means by default, we can not receive an implicit intent to the MainActivity in an Android app, unless we add the DEFAULT category.
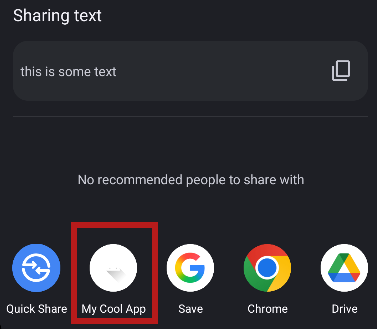
Our app should now show up in the Android Share menu when you select some text and hit “Share”.
Setup Main Activity to display received text
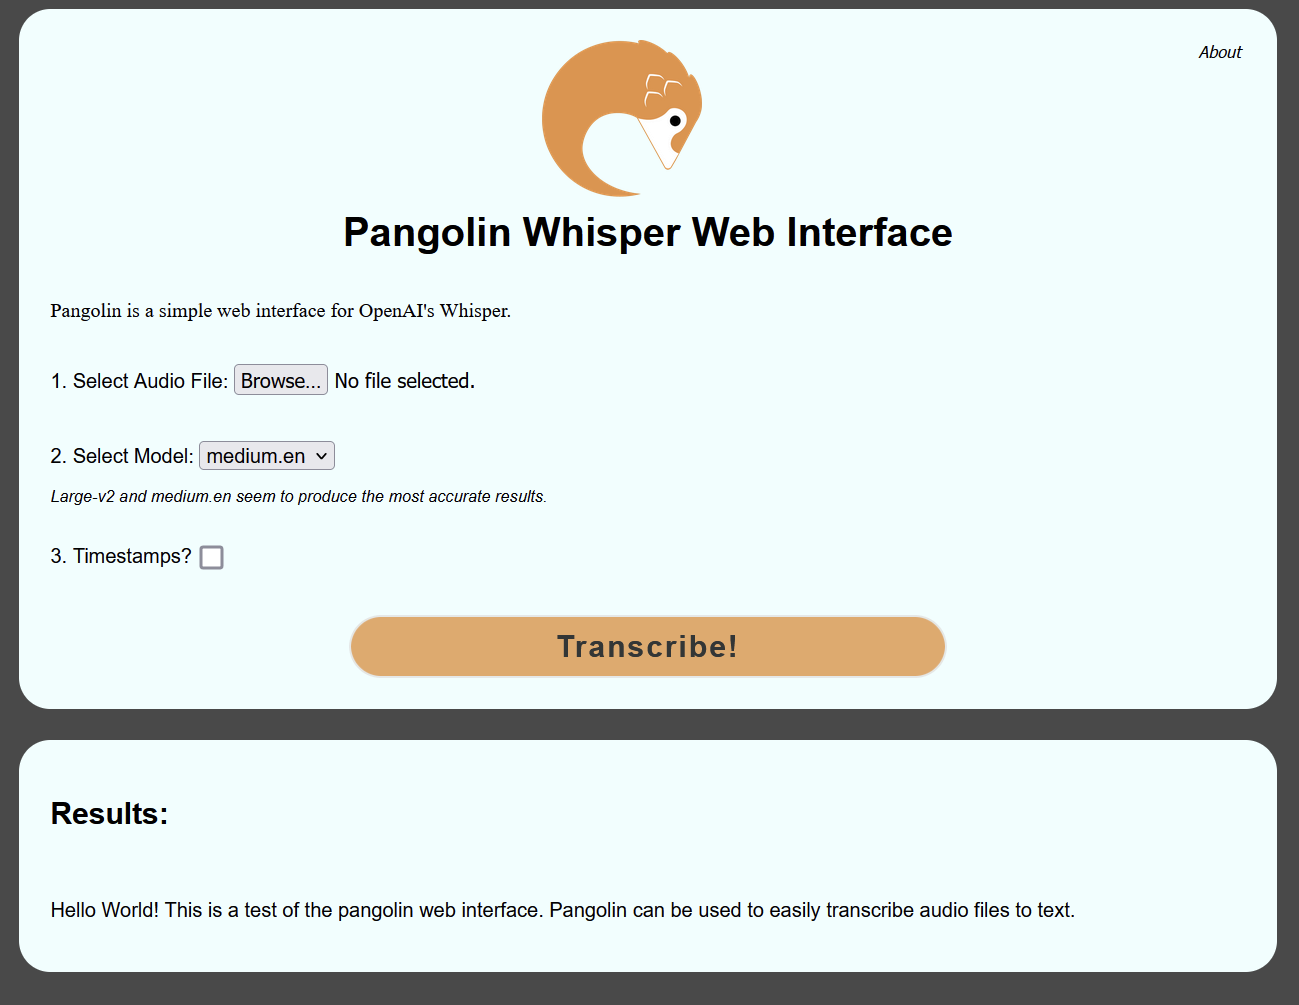
Now that we can send text to our app, we should do something with it.
In our Main Activity we have a Text View that we will update. Change myTextView to your Text View id.
val myText: TextView = findViewById(R.id.myTextView)
myText.text = intent.getStringExtra(Intent.EXTRA_TEXT)
Now if we share some text and send it to our app, it updates the Text View with our selected text.