Install Node.js 18 on AlmaLinux 8

List available Node.js versions available.

dnf module list nodejs
AlmaLinux 8 - AppStream
Name           Stream           Profiles                                     Summary
nodejs         10 [d][x]        common [d], development, minimal, s2i        Javascript runtime
nodejs         12 [x]           common [d], development, minimal, s2i        Javascript runtime
nodejs         14 [x]           common [d], development, minimal, s2i        Javascript runtime
nodejs         16 [x]           common [d], development, minimal, s2i        Javascript runtime
nodejs         18 [x]           common [d], development, minimal, s2i        Javascript runtime
nodejs         20 [x]           common [d], development, minimal, s2i        Javascript runtime

Hint: [d]efault, [e]nabled, [x]disabled, [i]nstalled

As we can see above, nodejs 18 is disabled. Enable it with

sudo dnf module enable nodejs:18

Now we can install with

sudo dnf install nodejs

You may need to uninstall older versions.

How to Display Pictures on NodeJS http Server

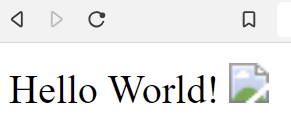
If you are using http for a NodeJS application, you may have run into an issue where none of your images are loading on a site. Instead you are greeted with nice little “no image” logos.

The issue is that our NodeJS server has not been instructed to load anything other than index.html. So other things like images, or even CSS from our style.css file wont work properly.

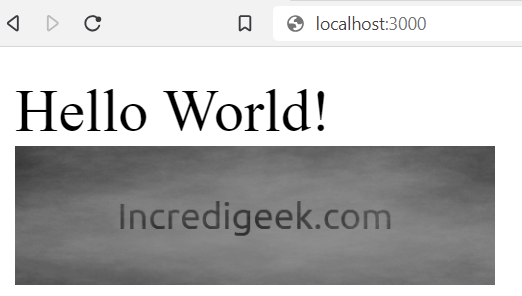
To fix the issue, we need to to tell NodeJS what to do when other files are requested. As a side note, the person browsing the site may not be requesting the resources directly, but index.html file requests the css file or images hence creating a new web request.

Let’s say we are starting with the following code as a starting point.

var http = require('http')
var fs = require('fs')
var path = require('path')
var url = require('url')

http
  .createServer(function (req, res) {
    let pathname = url.parse(req.url).pathname
    if (
      req.method === 'GET' &&
      (pathname === '/' || pathname === '/index.html')
    ) {
      res.setHeader('Content-Type', 'text/html')
      fs.createReadStream('./index.html').pipe(res)
      return
    }
    return res.end()
  })
  .listen(3000)

Our HTML code is very basic.

<html>
<head>Hello World!</head>
<br />
<body><img src="./image.png" width="128"></body>
</html>

When we launch our server with

$ node server.js

We get

The Fix

Essentially what we need to do is tell the server what to do when image.png is requested.

So we can add the following to our server code before the line “return res.end()”

    if (req.method === 'GET' && pathname === '/image.png') {
      res.setHeader('Content-Type', 'image/png')
      fs.createReadStream('./image.png').pipe(res)
      return
    }

And voila! it is fixed!

Taking it Further

We can improve on this and add a favicon, as well as our style sheet.

var http = require('http')
var fs = require('fs')
var path = require('path')
var url = require('url')

http
  .createServer(function (req, res) {
    let pathname = url.parse(req.url).pathname
    if (
      req.method === 'GET' &&
      (pathname === '/' || pathname === '/index.html')
    ) {
      res.setHeader('Content-Type', 'text/html')
      fs.createReadStream('./index.html').pipe(res)
      return
    }
    if (req.method === 'GET' && pathname === '/image.png') {
      res.setHeader('Content-Type', 'image/png')
      fs.createReadStream('./image.png').pipe(res)
      return
    }

    if (req.method === 'GET' && pathname === '/favicon.ico') {
      res.setHeader('Content-Type', 'image/x-icon')
      fs.createReadStream('./favicon.ico').pipe(res)
      return
    }

    if (req.method === 'GET' && pathname === '/style.css') {
      res.setHeader('Content-Type', 'text/css')
      fs.createReadStream('./style.css').pipe(res)
      return
    }
    return res.end()
  })
  .listen(3000)

This will let us put a favicon.ico image to use as a favicon it will use style.css to stylize the website.

We should note that while the above code does work, you will most likely want to use something like express.
https://github.com/expressjs/express

You can also find better code implementations others of done online.

https://stackoverflow.com/questions/5823722/how-to-serve-an-image-using-nodejs

Running Node App as systemd Service

In this post we will be using systemd to run a node application. This is helpful as it will automatically start the app when the server starts so we don’t have to manually. These steps can easily be modified to run a bash script, or any other application.

  • Create systemd file
  • Customize systemd file
  • Enable systemd file

We’ll be creating a service for the Simple Whisper Web Interface as an example. Chang things as needed.

Create systemd file

This is super simple. We create a .service file in /lib/systemd/system. When we enable the service, it will create a symlink to this file.

sudo vim /lib/systemd/system/whisperweb.service

Customize systemd file

Change the settings as appropriate. It would be a good idea to run any service as a limited user that only has the rights needed to get the job done. Do note that you will need to have any prerequisites installed and available for that user to use. I.e. libraries installed with npm etc.

[Unit]
Description=Simple Whisper Web Interface Service File
After=network.target

[Service]
Type=simple
User=whisperuser
ExecStart=/usr/bin/node mainssl.js
WorkingDirectory=/home/whisperuser/
Restart=on-failure

[Install]
WantedBy=multi-user.target

Enable systemd file

Enabling the service will create a symlink that will then run this service file on system boot.

sudo systemctl enable whisperweb.service

And now we can start the service.

sudo systemctl start whisperweb.service

We can verify that the service is running by running

sudo systemctl status whisperweb.service

The following article has some great explanations on what different options in the unit file mean and do.

https://nodesource.com/blog/running-your-node-js-app-with-systemd-part-1/

A Very Basic Simple Whisper Web Interface

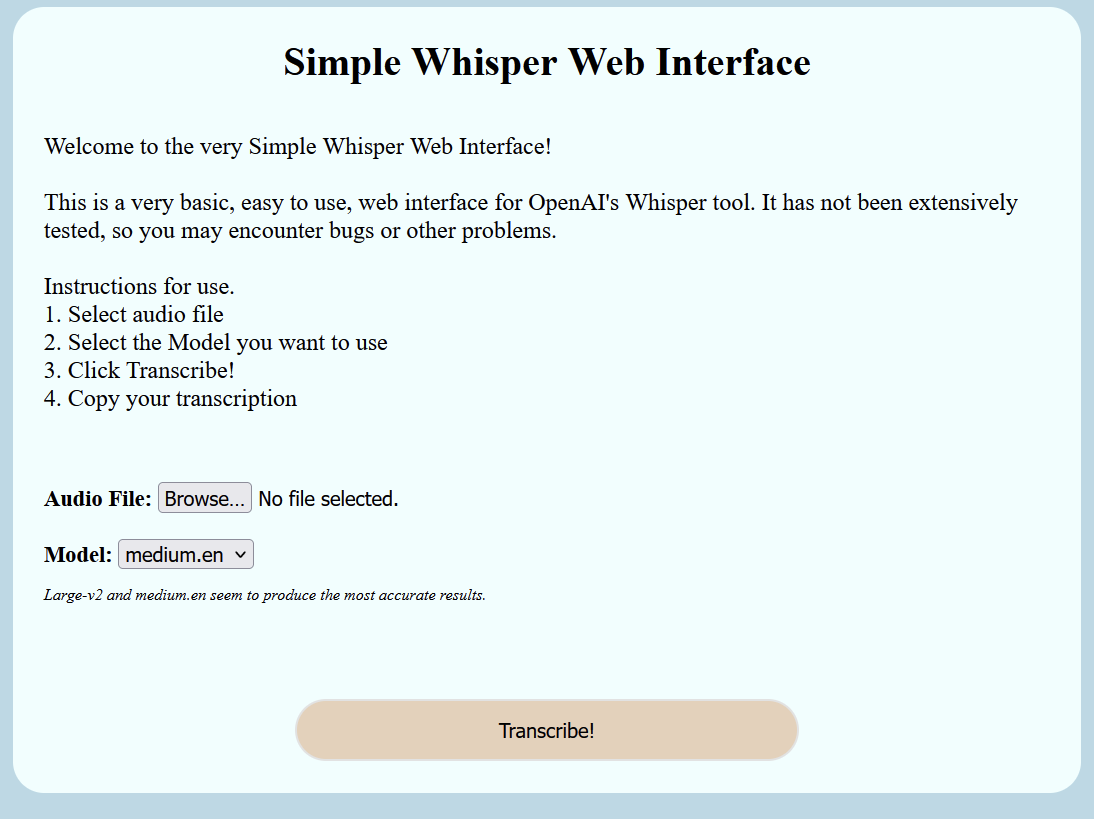
Created a little web interface to use Whisper, technically using whisper-ctranslate2 which is built on faster-whisper.

This is not currently ready to be run on the public web. It doesn’t have any sort of TLS for encrypting communications from client to server and all the files are stored on server. Only use in a trusted environment.

Setting up Prerequisite

Installing whisper-ctranslate2

pip install -U whisper-ctranslate2

Install NodeJS

sudo apt install nodejs

or

sudo dnf install nodejs

Install Node Dependencies

npm install formidable
npm install http
npm install fs

Setting up Simple Whisper Web Interface

First we need a web directory to use.

Next lets make an uploads folder

mkdir uploads

Now let’s create a main.js file. Node is going to be our webserver. Copy the following contents.

var http = require('http')
var formidable = require('formidable')
var fs = require('fs')

const execSync = require('child_process').execSync

let newpath = ''
let modelSize = 'medium.en'
const { exec } = require('node:child_process')
const validModels = [
  'medium.en',
  'tiny',
  'tiny.en',
  'base',
  'base.en',
  'small',
  'small.en',
  'medium',
  'medium.en',
  'large-v1',
  'large-v2'
]
fs.readFile('./index.html', function (err, html) {
  if (err) throw err

  http
    .createServer(function (req, res) {
      if (req.url == '/fileupload') {
        res.write(html)
        var form = new formidable.IncomingForm()
        form.parse(req, function (err, fields, files) {
          console.log('Fields ' + fields.modeltousema)
          console.log('File ' + files.filetoupload)
          var oldpath = files.filetoupload.filepath
          newpath = './uploads/' + files.filetoupload.originalFilename
          modelSize = validModels.includes(fields.modeltouse)
            ? fields.modeltouse
            : 'medium.en'
          console.log('modelSize::' + modelSize)
          fs.rename(oldpath, newpath, function (err) {
            if (err) {
              console.log('No file selected!') // throw err
              res.write(`<div class="results">No file selected</div>`)
            } else {
              console.log(newpath)
              const output = execSync(
                `whisper-ctranslate2 ${newpath} --model ${modelSize}`,
                { encoding: 'utf-8' }
              )

              res.write(
                `<div class="results"><h2>Results:</h2> <p>${output}</p></div>`
              )
              res.end()
            }
          })
        })
      } else {
        res.writeHead(200, { 'Content-Type': 'text/html' })
        res.write(html)
        return res.end()
      }
    })
    .listen(8080)
})

Now create an index.html file and paste the following in

<!DOCTYPE html>
<html lang="en">
  <head>
    <meta charset="UTF-8" />
    <meta http-equiv="X-UA-Compatible" content="IE=edge" />
    <meta name="viewport" content="width=device-width, initial-scale=1.0" />
    <title>Voice Transcribing Using Whisper</title>
    <link type="text/css" rel="stylesheet" href="style.css" />
  </head>
  <style>
    body {
      background-color: #b9dbe7;
      align-items: center;
    }

    .box {
      border-radius: 25px;
      padding: 25px;
      width: 80%;
      background-color: azure;
      margin: auto;
      border-bottom: 25px;
      margin-bottom: 25px;
    }

    .button {
      border-radius: 25px;
      margin: auto;
      width: 50%;
      height: 50px;
      display: flex;
      justify-content: center;
      border-style: solid;

      background-color: #e8d2ba;
    }

    h1 {
      text-align: center;
      padding: 0%;
      margin: 0%;
    }

    p {
      font-size: larger;
    }
    .headings {
      font-size: large;
      font-weight: bold;
    }
    input {
      font-size: medium;
    }
    select {
      font-size: medium;
    }
    .results {
      white-space: pre-wrap;
      border-radius: 25px;
      padding: 25px;
      width: 80%;
      align-self: center;
      background-color: azure;
      margin: auto;
    }
    .note {
      font-style: italic;
      font-size: small;
      font-weight: normal;
    }
  </style>
  <body>
    <script></script>
    <div class="box">
      <h1>Simple Whisper Web Interface</h1>
      <br />
      <p>
        Welcome to the very Simple Whisper Web Interface!<br /><br />
        This is a very basic, easy to use, web interface for OpenAI's Whisper
        tool. It has not been extensively tested, so you may encounter bugs or
        other problems.
        <br /><br />
        Instructions for use. <br />1. Select audio file <br />2. Select the
        Model you want to use <br />
        3. Click Transcribe! <br />4. Copy your transcription
      </p>
      <br />
      <br />
      <div class="headings">
        <form action="fileupload" method="post" enctype="multipart/form-data">
          Audio File: <input type="file" name="filetoupload" /><br />

          <br />
          Model:
          <select name="modeltouse" id="modeltouse">
            <option value="medium.en">medium.en</option>
            <option value="tiny">tiny</option>
            <option value="tiny.en">tiny.en</option>
            <option value="base">base</option>
            <option value="base.en">base.en</option>
            <option value="small">small</option>
            <option value="small.en">small.en</option>
            <option value="medium">medium</option>
            <option value="medium.en">medium.en</option>
            <option value="large-v1">large-v1</option>
            <option value="large-v2">large-v2</option>
          </select>
          <p class="note">
            Large-v2 and medium.en seem to produce the most accurate results.
          </p>
          <br />
          <br />
          <br />
          <input class="button" type="submit" value="Transcribe!" />
        </form>
      </div>
    </div>
  </body>
</html>

Now we should be set to go.

Fire the web server up with

node ./main.js

If we want to start it in the background, run

node ./main.js &

Known Limitations or Bugs

If you hit Transcribe with no file selected, the server crashes.

We are calling whisper-ctranslate2 directly, if it is not in the path, then it won’t work.

We are currently using the medium.en model, if the model is not downloaded, then the first transcription may take awhile while it downloads. Would like to add a menu for selecting which model to use. We fixed this by adding a drop down that let’s you select a model.

Would be nice to have an option for getting rid of the timestamps.

Decoding base64 “atob” in Javascript NodeJS

atob() is a javascript function that decodes base64 encoded text. btoa() is the encoding function. We can use NodeJS to dedcode atob() functions. For instance, we can lanch nodejs woth

nodejs

and decode the sting SGVsbG8gV29ybGQgIQ==

console.log(atob("SGVsbG8gV29ybGQgIQ=="));

If we wanted to break that down into a couple variables we can do something like the following.

> var b64 = atob("SGVsbG8gV29ybGQgIQ==")
> console.log(b64");

You can also create a javascript file and then run the file with nodejs.

var b64 = atob(atob("U0dWc2JHOGdWMjl5YkdRZ0lRPT0="))

console.log(b64);

We can then run the file with

nodejs ./file.js

In the file the string “Hello World !” is double encoded so we process it twice with the “atob(atob(base64);”

There is more info available at the following links

https://www.npmjs.com/package/atob
https://developer.mozilla.org/en-US/docs/Web/API/atob

Check out the following article if you want to use Python to decode base64.