Install Guide for Pangolin Whisper Web Interface on Linux

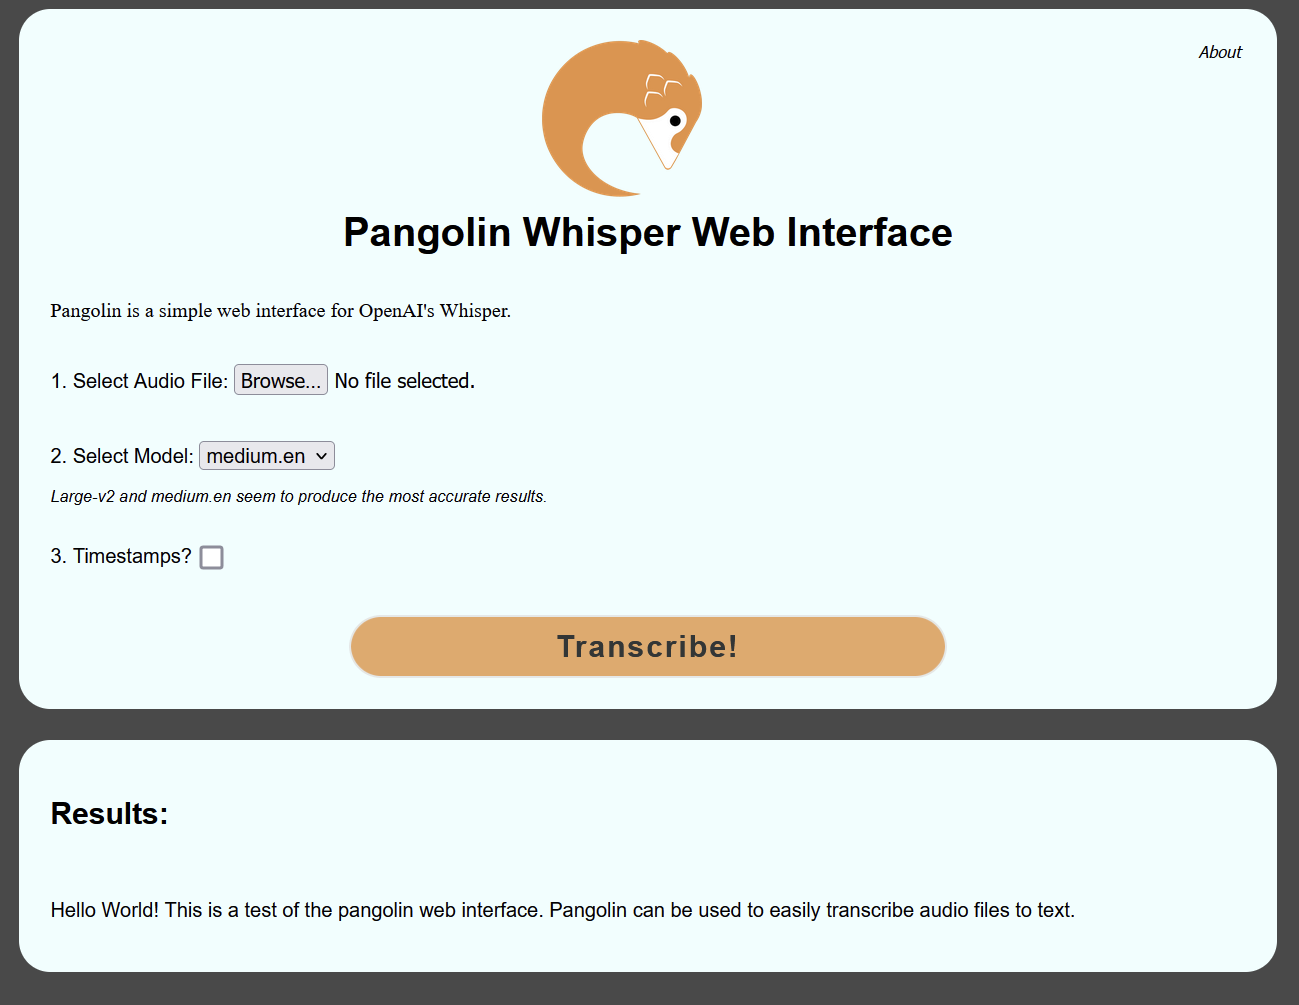
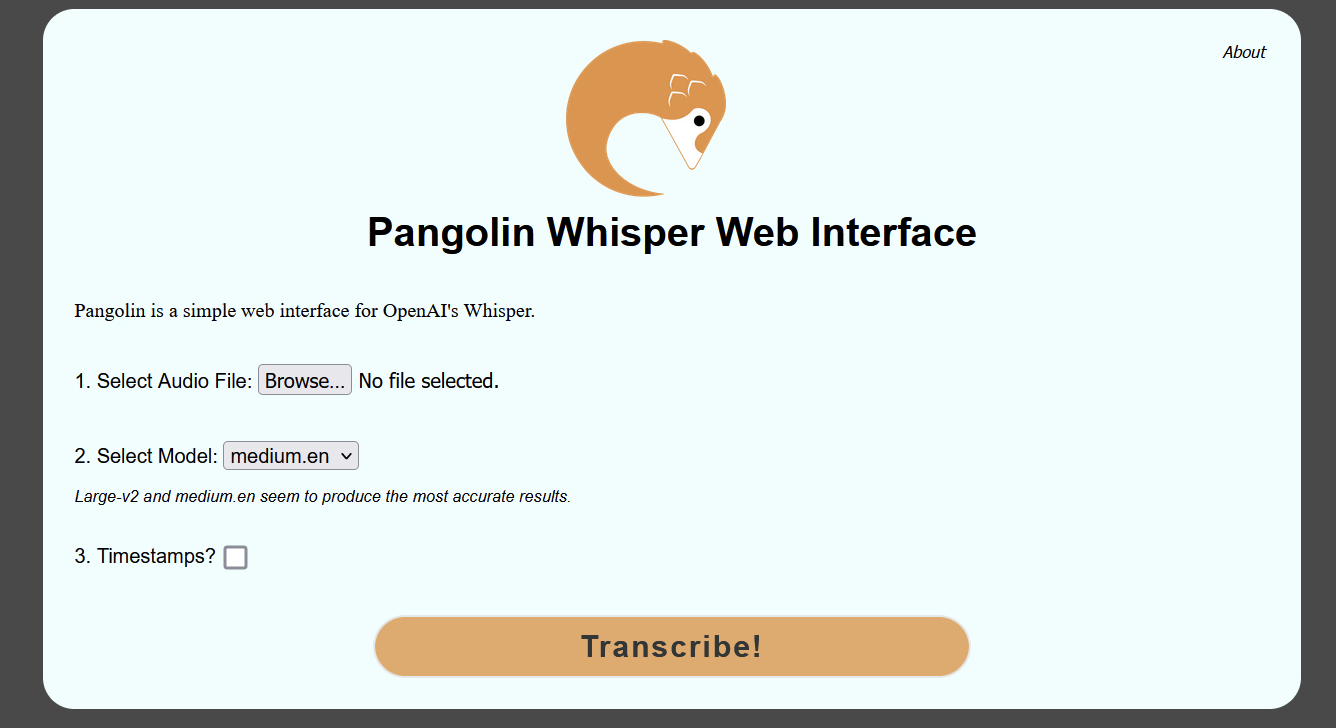
Pangolin is a simple web interface for OpenAI’s Whisper system. Very easy and simple to use.

https://github.com/incredig33k/pangolin/

Add User

We’ll setup a new unprivileged user called pangolin.

sudo useradd -m pangolin
sudo passwd pangolin
su pangolin
cd
pip3 install whisper-ctranslate2
  or 
pip3.9 install whisper-ctranslate2
npm install https formidable@2.1.1 fs path url
wget https://github.com/incredig33k/pangolin/releases/download/pre-release/pangolin-web.zip
unzip ./pangolin_web.zip
cd pangolin_web
mkdir uploads

Change default port to 8443. It is possible to use 443, but we would need to run privileged

sed -i "s/443/8443/g" ./pangolin_server.js

Setup SSL Certificate

This assumes you already have Let’s Encrypt setup. We’ll create a certificate directory for Pangolin to use and then copy the certs there.

mkdir /home/pangolin/ssl
sudo cp /etc/letsencrypt/live/DOMAINNAME.COM/fullchain.pem /home/pangolin/ssl/
sudo cp /etc/letsencrypt/live/DOMAINNAME.COM/privkey.pem /home/pangolin/ssl/
sudo chown pangolin:pangolin /home/pangolin/ssl/fullchain.pem
sudo chown pangolin:pangolin /home/pangolin/ssl/privkey.pem

Now back in our web directory we can update the vars.js file like the following.
Note that we do need the full file path. Can’t use ~/

module.exports = {
key: '/home/pangolin/ssl/privkey.pem',
cert: '/home/pangolin/ssl/fullchain.pem'
}

Firewall rules

We can change the port Pangolin runs on by editing the listen port at the bottom of the pangolin_server.js file.

sudo firewall-cmd --add-port=443/tcp

Setting up systemd Service

Now we need to copy our service file and enable the Pangolin service.

sudo cp /home/pangolin/pangolin_web/pangolin.service /usr/lib/systemd/system/pangolin.service
sudo systemctl enable pangolin.service

Start the service

sudo systemctl start pangolin

Improving Accuracy for OpenAI’s Whisper

We can use prompts to improve our Whisper transcriptions.

We can add “–initial_prompt” to our command like the following.

--initial_prompt "Computer Historical etc"

We can also look into suppressing Tokens to eliminate words that we won’t use. Believe we need to find the tokens for words, and then we can use the token ID to ignore those words. More links below.

https://github.com/openai/whisper/blob/15ab54826343c27cfaf44ce31e9c8fb63d0aa775/whisper/decoding.py#L87-L88

https://platform.openai.com/docs/guides/speech-to-text/prompting

https://github.com/openai/whisper/discussions/355

https://github.com/openai/whisper/discussions/117

https://huggingface.co/blog/fine-tune-whisper

https://discuss.huggingface.co/t/adding-custom-vocabularies-on-whisper/29311/2?u=nbroad

Using FasterWhisper on Ubuntu

faster-whisper is a faster implementation of OpenAI’s Whisper.

https://github.com/guillaumekln/faster-whisper

Someone else has added a “front end” to it so we can just about use it as a drop in replacement for Whisper.

https://github.com/jordimas/whisper-ctranslate2

We can easily install it with pip.

pip install -U faster-Whisper
pip install -U whisper-ctranslate2

For some reason initially the quality was worse then vanilla Whisper. Adding the “–compute_type float32” option improved the quality to where there was not any difference between them.

Setting up Databricks Dolly on Ubuntu with GPU

This is a quick guide for getting Dolly running on an Ubuntu machine with Nvidia GPUs.

You’ll need a good internet connection and around 35GB of hard drive space for the Nvidia driver, Dolly (12b model) and extras. You can use the smaller models to take up less space. The 8 billion parameter model uses about ~14GB of space while the 3 billion parameter one is around 6GB

Install Nvidia Drivers and CUDA

sudo apt install nvidia-driver nvidia-cuda-toolkit

Reboot to activate the Nvidia driver

reboot

Install Python

Python should already be installed, but we do need to install pip.

Once pip is installed, then we need to install numpy, accelerate, and transformers

sudo apt install python3-pip
pip install numpy
pip install accelerate>=0.12.0 transformers[torch]==4.25.1

Run Dolly

Run a python console. If you run it as administrator, it should be faster.

python3

Run the following commands to set up Dolly.

import torch
from transformers import pipeline

generate_text = pipeline(model="databricks/dolly-v2-12b", torch_dtype=torch.bfloat16, trust_remote_code=True, device_map="auto")

# Alternatively, If you want to use a smaller model run

generate_text = pipeline(model="databricks/dolly-v2-3b", torch_dtype=torch.bfloat16, trust_remote_code=True, device_map="auto")

Notes:

  1. If you have issues, you may want/need to specify an offload folder with offload_folder=”.\offloadfolder”. An SSD is preferable.
  2. If you have lots of RAM, you can take out the “torch_dtype=torch.bfloat16”
  3. If you do NOT have lots of ram (>32GB), then you may only be able to run the smallest model

Alternatively, if we don’t want to trust_remote_code, we can download this file, and run the following

from instruct_pipeline import InstructionTextGenerationPipeline
from transformers import AutoModelForCausalLM, AutoTokenizer

tokenizer = AutoTokenizer.from_pretrained("databricks/dolly-v2-12b", padding_side="left")
model = AutoModelForCausalLM.from_pretrained("databricks/dolly-v2-12b", device_map="auto")

generate_text = InstructionTextGenerationPipeline(model=model, tokenizer=tokenizer)

Now we can ask Dolly a question.

generate_text("Your question?")

Example:

>>> generate_text("Tell me about Databricks dolly-v2-3b?")
'Dolly is the fully managed open-source engine that allows you to rapidly build, test, and deploy machine learning models, all on your own infrastructure.'

Further information is available at the following two links.

https://github.com/databrickslabs/dolly
https://huggingface.co/databricks/dolly-v2-3b
https://huggingface.co/databricks/dolly-v2-12b

Install and Use OpanAI Whisper

These commands work for Ubuntu. Should be simple to change for other Linux distros.

Install Nvidia and CUDA drivers

sudo apt install nvidia-driver-530 nvidia-cuda-toolkit

Reboot so the system uses the driver.

Install pip and ffmpeg

sudo apt install python3-pip
sudo apt install ffmpeg

Now we can install whisper with

pip install -U openai-whisper

Run Whisper

After it is installed, it should be able to run it like

whisper audio.mp3 --model medium

Change out medium to the model you would like to use. It will then download the model and then work get to work on transcribing it. The .en models i.e. medium.en, seem to perform better then the other ones. If you are using English that is.

If you receive a “Command ‘whisper’ not found” error, you may not have ~/.local/bin in your user PATH. Either add ~/.local/bin to your PATH, or run whisper with the full path

~/.local/bin/whisper audio.mp3 --model medium

OpenAI Whisper GitHub link.
https://github.com/openai/whisper

Setting up Databricks Dolly on Windows with GPU

The total process can take awhile to setup Dolly. You’ll need a good internet connection and around 50GB of hard drive space.

Install Nvidia CUDA Toolkit

You’ll need to install the CUDA Toolkit to take advantage of the GPU. The GPU is much faster than just using the CPU.

https://developer.nvidia.com/cuda-downloads

Install Git

Install git from the following site.

https://git-scm.com/downloads

Download Dolly

Download Dolly with git.

git lfs install 
git clone https://huggingface.co/databricks/dolly-v2-12b

Install Python

We’ll also need Python installed if it is not already.
https://www.python.org/downloads/release/

Next we’ll need the following installed

py.exe -m pip install numpy
py.exe -m pip install accelerate>=0.12.0 transformers[torch]==4.25.1
py.exe -m pip install numpy --pre torch --force-reinstall --index-url https://download.pytorch.org/whl/nightly/cu117 --user

The last one is needed to get Dolly to utilize a GPU.

Run Dolly

Run a python console. If you run it as administrator, it should be faster.

py.exe

Run the following commands to set up Dolly.

import torch
from transformers import pipeline

generate_text = pipeline(model="databricks/dolly-v2-3b", torch_dtype=torch.bfloat16, trust_remote_code=True, device_map="auto")

# Or to use the full model run

generate_text = pipeline(model="databricks/dolly-v2-12b", torch_dtype=torch.bfloat16, trust_remote_code=True, device_map="auto")

Note: if you have issues, you may want/need to specify an offload folder with offload_folder=”.\offloadfolder”. An SSD is preferable.
Also if you have lots of RAM, you can take out the “torch_dtype=torch.bfloat16”

Alternatively, if we don’t want to trust_remote_code, we can do run the following

from instruct_pipeline import InstructionTextGenerationPipeline
from transformers import AutoModelForCausalLM, AutoTokenizer

tokenizer = AutoTokenizer.from_pretrained("databricks/dolly-v2-3b", padding_side="left")
model = AutoModelForCausalLM.from_pretrained("databricks/dolly-v2-3b", device_map="auto")

generate_text = InstructionTextGenerationPipeline(model=model, tokenizer=tokenizer)

Now can ask Dolly a question.

generate_text("Your question?")

Example:

>>> generate_text("Tell me about Databricks dolly-v2-3b?")
'Dolly is the fully managed open-source engine that allows you to rapidly build, test, and deploy machine learning models, all on your own infrastructure.'

Further information is available at the following two links.

https://github.com/databrickslabs/dolly
https://huggingface.co/databricks/dolly-v2-3b