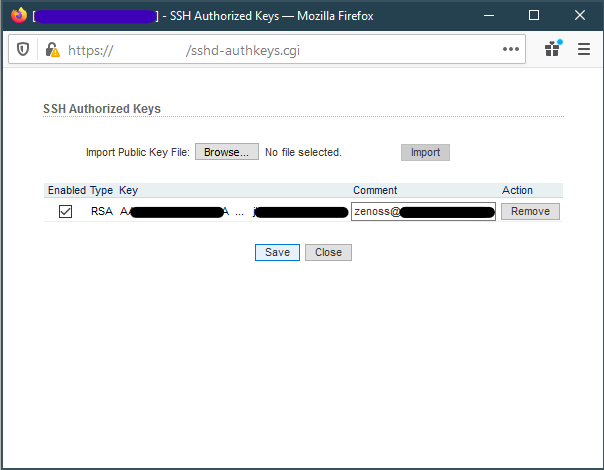
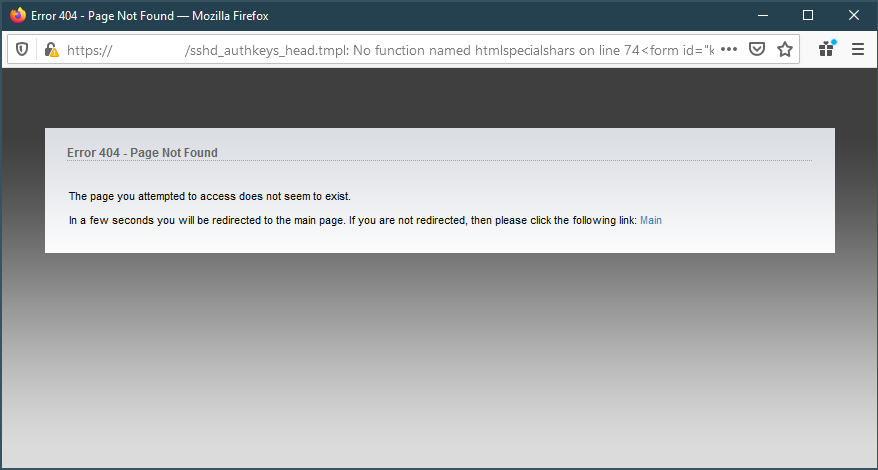
For some reason I ran into an issue where I can not remove authorized SSH Keys in AirOS version 6.3. It redirects to a 404 page and then to the main page.
Attempting to remove SSH keys in AirOS404 Error while attempting to remove SSH keys
Thankfully, we can still remove the authorized keys from the command line. For more information on making changes over SSH, refer to the following post.
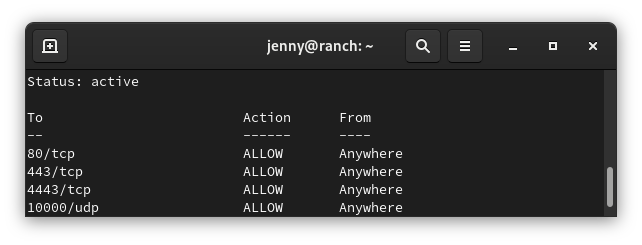
sudo ufw status numbered
Status: active
To            Action   From
--            ------   ----
[1] 3478/udp  ALLOW IN  Anywhere
[2] 5514/udp  ALLOW IN  Anywhere
[3] 8080/tcp  ALLOW IN  Anywhere
[4] 8443/tcp  ALLOW IN  Anywhere
[5] 8880/tcp  ALLOW IN  Anywhere
[6] 8843/tcp  ALLOW IN  Anywhere
[7] 6789/tcp  ALLOW IN  Anywhere
[8] 27117/tcp ALLOW IN  Anywhere
[9] 22/tcp    ALLOW IN  Anywhere
Delete rule
You need to know the number of the rule you want to delete. Replace number with the number of the rule from the status command
sudo ufw delete number
Reset rules
sudo ufw reset
Allow access to port from specific IP address
Example command allows access to SSH (port 22) from the 172.16.0.0/12 ip range.
sudo ufw allow proto tcp from 172.16.0.0/12 to any port 22
One note: It appears that you need to run the rule with every IP range you want to allow.
Allow access to port from all private IP ranges (RFC 1918)
If we wanted to allow SSH (port 22) from all local IP addresses, we would need to run the following three commands.
sudo ufw allow proto tcp from 10.0.0.0/8 to any port 22
sudo ufw allow proto tcp from 172.16.0.0/12 to any port 22
sudo ufw allow proto tcp from 192.168.0.0/16 to any port 22
From the server side, edit the /etc/ssh/sshd_config
Change, uncomment, or add
ClientAliveInterval 120
ClientAliveCountMax 15
Change the AliveInterval and CountMax as desired.
More info on the AliveIntercal and CountMax.
ClientAliveCountMax Sets the number of client alive messages which may be sent without sshd(8) receiving any messages back from the client. If this threshold is reached while client alive messages are being sent, sshd will disconnect the client, terminating the session. It is important to note that the use of client alive messages is very different from TCPKeepAlive. The client alive messages are sent through the encrypted channel and therefore will not be spoofable. The TCP keepalive option enabled by TCPKeepAlive is spoofable. The client alive mechanism is valuable when the client or server depend on knowing when a connection has become unresponsive.
The default value is 3. If ClientAliveInterval is set to 15, and ClientAliveCountMax is left at the default, unresponsive SSH clients will be disconnected after approximately 45 seconds. Setting a zero
ClientAliveCountMax disables connection termination.ClientAliveInterval Sets a timeout interval in seconds after which if no data has been received from the client, sshd(8) will send a message through the encrypted channel to request a response from the client. The default is 0, indicating that these messages will not be sent to the client.
[VERBOSE] Disabled child 2 because of too many errors [VERBOSE] Disabled child 6 because of too many errors [ERROR] could not connect to target port 22: Socket error: Connection reset by peer [ERROR] could not connect to target port 22: Socket error: Connection reset by peer [ERROR] could not connect to target port 22: Socket error: Connection reset by peer [ERROR] could not connect to target port 22: Socket error: Connection reset by peer [ERROR] ssh protocol error
Looks like the issue can happen if you have too many threads going at once. Lower the amount of threads your using with -t. Recommended amount for ssh is 4.
When trying to SSH to older devices like a Ubiquiti Bullet2, you may receive an error saying
no matching cipher found. Their offer: aes128-cbc,3des-cbc,aes256-cbc,twofish256-cbc,twofish-cbc,twofish128-cbc,blowfish-cbc
The work around is to manually specify the cipher with the “-c” option. You will also probably need to specify the KexAlgorithm “Key Exchange Algorithm”
The following are errors that are returned when trying to ssh to a device.
Cambium 450i PMP Equipment
Unable to negotiate with 192.168.0.1 port 22: no matching key exchange method found. Their offer: diffie-hellman-group1-sha1,diffie-hellman-group14-sha1
2023 Update: Recent versions of REHL have completely disabled DES which can cause issues even when using the +ssh-rsa or +ssh-rsa. You can use the following command to enable SHA1, however, upgrading the server would be recommended.
update-crypto-policies --set DEFAULT:SHA1
Reason for it not working is some of the older weaker SSH encryption algorithms have been disabled. You can allow ssh to use it by specifying the following option.
Problem – Need 2.4 Ghz network enabled and SSID set to WiFi. Wireless router is behind a NAT, using UNMS to ssh into the radio, and from the radio ssh into hAP. Enter/Return key not working to run commands, so running the commands over ssh from the radio.