
Setup Share in windows
You may need to enable the Network Sharing and discovery in the network sharing center before proceeding with the following steps.
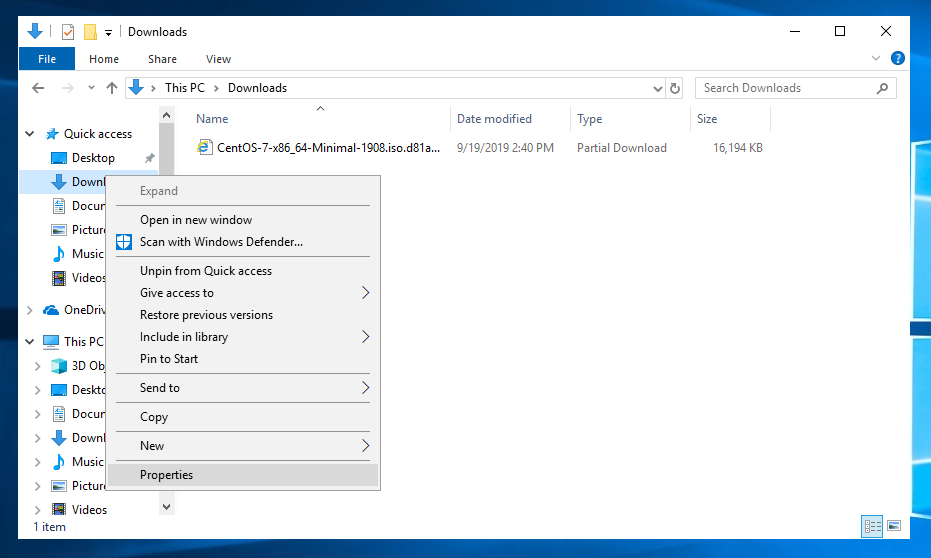
Create a new directory, right click and hit properties.
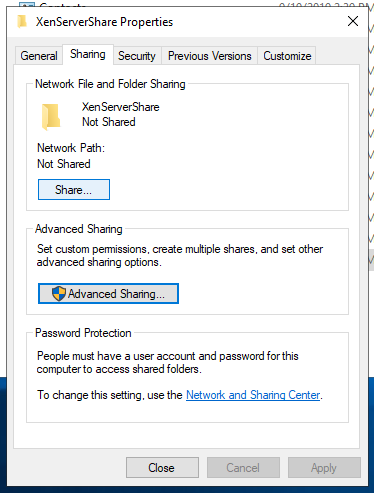
Under Sharing, hit Advanced Sharing…
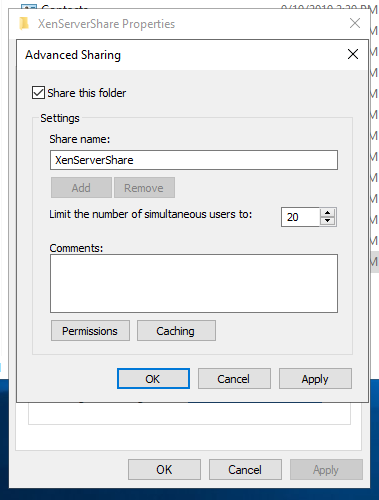
Enable the Check mark for “Share this folder” and verify the share name is correct. In this example we are sharing a folder called XenServerShare
Setup Share in XenCenter
From XenCenter, hit add new Storage Repository and run through the wizard. When you get to the Share path put in \\share-ip-address\Share\Path
Example: If the IP address of the computer with the Share is 192.168.1.2 and you shared your Downloads folder, the path would be as follows
\\192.168.1.2\Downloads
Use the share computers username and password to log in to it.