Enable TLS 1.1 and 1.2 on Windows 7

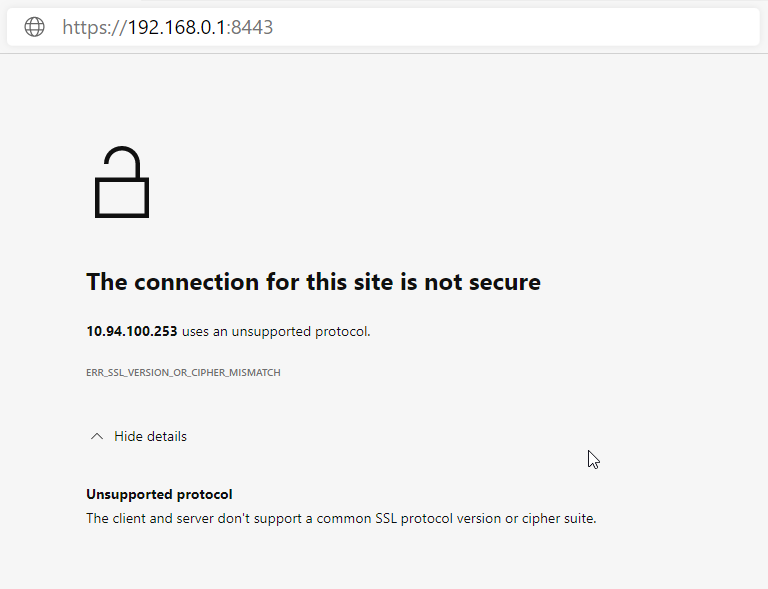
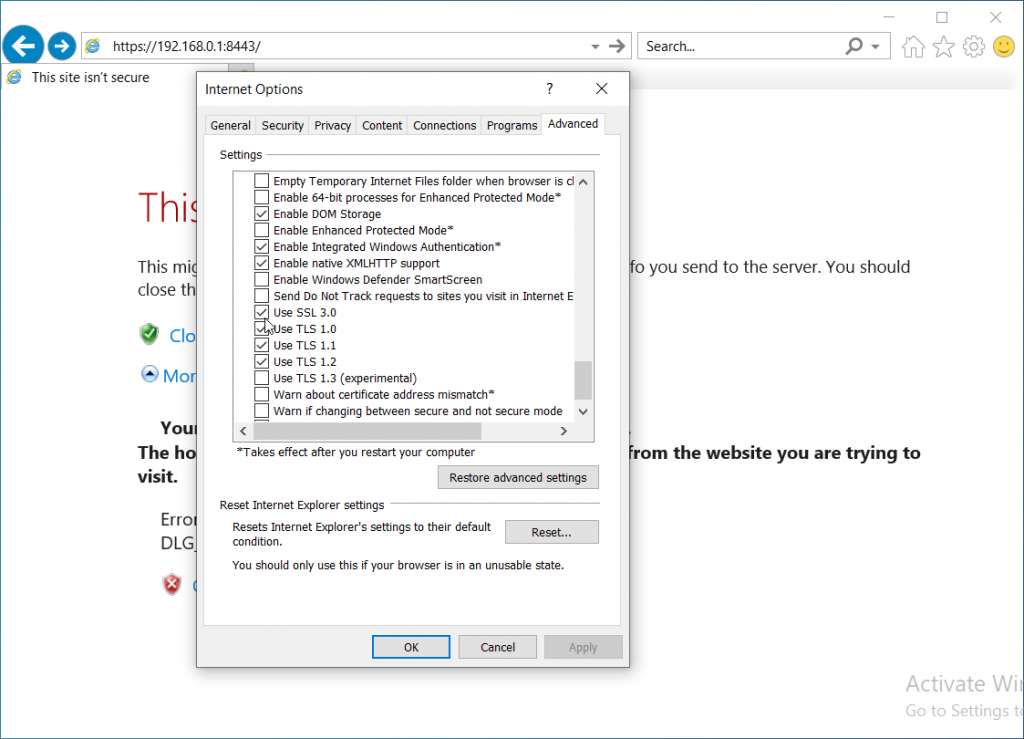
Windows 7 does not support TLS 1.1 or 1.2 by default. This can be an issue if you are still trying to use Outlook 2010 on Windows 7.

Fortunately there is a way that we can enable TLS 1.1 and 1.2.

First we need to verify that we have the correct Windows update in place. Download the appropriate download and double click it to run.

For 64 bit systems download the update from here

http://download.windowsupdate.com/c/msdownload/update/software/updt/2016/04/windows6.1-kb3140245-x64_5b067ffb69a94a6e5f9da89ce88c658e52a0dec0.msu

or for 32 bit systems

http://download.windowsupdate.com/c/msdownload/update/software/updt/2016/04/windows6.1-kb3140245-x86_cdafb409afbe28db07e2254f40047774a0654f18.msu

After the update is finished, create a new text file (AKA PowerShell Script) with the following contents.

$arch=(Get-WmiObject -Class Win32_operatingsystem).Osarchitecture
$reg32bWinHttp = "HKLM:\SOFTWARE\Microsoft\Windows\CurrentVersion\Internet Settings\WinHttp"
$reg64bWinHttp = "HKLM:\SOFTWARE\Wow6432Node\Microsoft\Windows\CurrentVersion\Internet Settings\WinHttp"
$regWinHttpDefault = "DefaultSecureProtocols"
$regWinHttpValue = "0x00000a00"
$regTLS11 = "HKLM:\SYSTEM\CurrentControlSet\Control\SecurityProviders\SCHANNEL\Protocols\TLS 1.1\Client"
$regTLS12 = "HKLM:SYSTEM\CurrentControlSet\Control\SecurityProviders\SCHANNEL\Protocols\TLS 1.2\Client"
$regTLSDefault = "DisabledByDefault"
$regTLSValue = "0x00000000"

Clear-Host
Write-Output "Creating Registry Keys...`n"
Write-Output "Creating registry key $reg32bWinHttp\$regWinHttpDefault with value $regWinHttpValue"

IF(!(Test-Path $reg32bWinHttp)) {
    New-Item -Path $reg32bWinHttp -Force | Out-Null
    New-ItemProperty -Path $reg32bWinHttp -Name $regWinHttpDefault -Value $regWinHttpValue -PropertyType DWORD -Force | Out-Null
}
ELSE {
    New-ItemProperty -Path $reg32bWinHttp -Name $regWinHttpDefault -Value $regWinHttpValue -PropertyType DWORD -Force | Out-Null
}

IF($arch -eq "64-bit") {
    Write-Output "Creating registry key $reg64bWinHttp\$regWinHttpDefault with value $regWinHttpValue"
    IF(!(Test-Path $reg64bWinHttp)) {
        New-Item -Path $reg64bWinHttp -Force | Out-Null
        New-ItemProperty -Path $reg64bWinHttp -Name $regWinHttpDefault -Value $regWinHttpValue -PropertyType DWORD -Force | Out-Null
    }
    ELSE {
        New-ItemProperty -Path $reg64bWinHttp -Name $regWinHttpDefault -Value $regWinHttpValue -PropertyType DWORD -Force | Out-Null
    }
}

Write-Output "Creating registry key $regTLS11\$regTLSDefault with value $regTLSValue"

IF(!(Test-Path $regTLS11)) {
    New-Item -Path $regTLS11 -Force | Out-Null
    New-ItemProperty -Path $regTLS11 -Name $regTLSDefault -Value $regTLSValue -PropertyType DWORD -Force | Out-Null
    }
ELSE {
    New-ItemProperty -Path $regTLS11 -Name $regTLSDefault -Value $regTLSValue -PropertyType DWORD -Force | Out-Null
}

Write-Output "Creating registry key $regTLS12\$regTLSDefault with value $regTLSValue"

IF(!(Test-Path $regTLS12)) {
    New-Item -Path $regTLS12 -Force | Out-Null
    New-ItemProperty -Path $regTLS12 -Name $regTLSDefault -Value $regTLSValue -PropertyType DWORD -Force | Out-Null
    }
ELSE {
    New-ItemProperty -Path $regTLS12 -Name $regTLSDefault -Value $regTLSValue -PropertyType DWORD -Force | Out-Null
}

Write-Output "`nComplete!"

Save the file as “tls-reg-edit.ps1”

If saving it using notepad, change Save as type: All files (*.*)

Open a PowerShell. Change directories “cd” to the location you saved the above script to. ie. cd Downloads

Run the script with the follow command. Note you will most likely need to hit Y to allow the scripts to run.

Set-ExecutionPolicy Bypass -Scope Process ; .\tls-reg-edit.ps1

After the script runs, you’ll need to reboot your computer.

The script and information was taken from the following link. Thanks cPanel!

https://docs.cpanel.net/knowledge-base/security/how-to-configure-microsoft-windows-7-to-use-tls-version-1.2/

There is also more information at the following Microsoft link.

https://support.microsoft.com/en-us/topic/update-to-enable-tls-1-1-and-tls-1-2-as-default-secure-protocols-in-winhttp-in-windows-c4bd73d2-31d7-761e-0178-11268bb10392

Create Certificate on Mikrotik – Command Line

https://wiki.mikrotik.com/wiki/Manual:Create_Certificates
https://www.medo64.com/2016/12/simple-openvpn-server-on-mikrotik/

Create Certificate Authority and Server Certificate

/certificate add name=ca-template common-name=myCa days-valid=3650 key-size=2048 key-usage=key-cert-sign,crl-sign

/certificate add name=server-template common-name=server days-valid=3650 key-size=2048 key-usage=digital-signature,key-encipherment,tls-server

Sign certificates

/certificate sign ca-template name=myCa

/certificate sign server-template ca=myCa name=server

Trust certificates

/certificate set myCa trusted=yes

/certificate set server trusted=yes

Create Certificate on Mikrotik – WinBox

Create Certificates

Open up the Certificates window by going to /System -> Certificates. Hit the + to add a new certificate

Create Certificate Authority Certificate

First we are going to create a Certificate Authority template

Setup Certificate Authority template

Specify the key usage to “crl sign” and “key cert. sign” and apply

Set Certificate Authority Key Usage

Setup Server Certificate

Now we are going to create a server template

Setup Server Template

We need to specify “Digital signature, key encipherment, and tls server” You may need to enable/disable more depending on your use case scenario. In this case we are setting it up for OpenVPN.

Configure Server Key Usage

Sign Templates

First we need to sign the ca-template by opening up the the Certificate and hitting Sign on the right hand side. Should get the little Sign window pop up.

Sign Certificate Authority

Progress will show done when it is finished signing.

Next we need to sign the server-template. When Signing the server template, specify the ca-template in the CA: field. See below

Sign Server Certificate

Unable to access old HTTPS login for WiFi router

Part of the reason some of the older sites do not work is due to insecurities in older SSL protocol’s. Some of the older versions are disabled in newer browsers thereby keeping someone from accessing the device.

Unsupported protocol

Work Around

Internet Explorer will let you change the security settings to allow older security protocols to work. Chrome and Firefox seem to have issues letting you do that.

Open Internet Explorer and then go to the Internet Options and find the Advanced tab. Scroll down and locate the “Use SSL3.0” option and enable it.

Enable SSL 3.0

You may also need to modify the Zones.

Change Internet Zones

You should now be able to accept the Security Certificate and log in.

Proceed to login page for site

This should only be done if absolutely needed and only on sites you trust. It would be a good idea to change the settings back when finished.

More info.
https://community.spiceworks.com/topic/1958251-just-purchased-a-sonicwall-via-ebay-but-after-doing-the-initial-config