Here are some very basic notes on using buttons to change elements on a web page
We have a very simple page with three buttons that change the background color when the button is clicked.
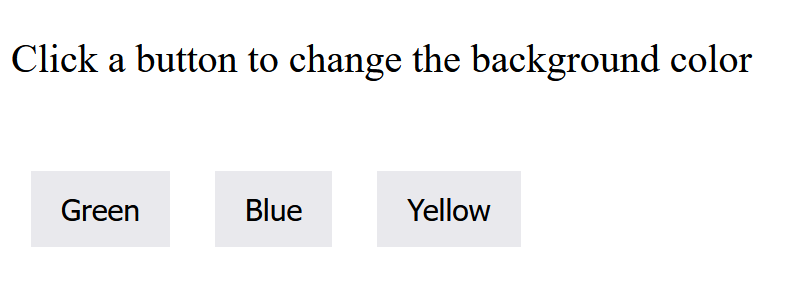
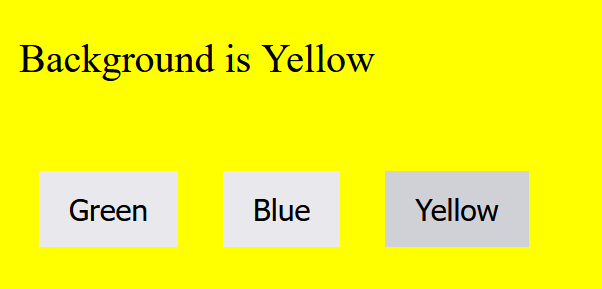
Clicking a button changes the text and the background color.
Create a button in our html file.
<button type="button" class="button green">Green</button>We have two classes assigned to this button, button which is used for styling, and the green, which JavaScript will use to know which button is clicked.
In our JavaScript, we will set up an event listener for when the button is clicked.
document.querySelector('.green').addEventListener('click', function () {
  document.querySelector('body').style.backgroundColor = 'Green'
  console.log('Green')
})
We use the document.querySelector to interact with HTML objects. So we setup the event listener to listen to the button that is in Class green, and we wait for the click event. Once that happens, we run the code in the function(){ }.
Line 2 is what changes our background color. We query the body tag, and set the backgroundColor to Green. Notice that the background color name is slightly different between JavaScript and HTML.
HTML and CSS it has a – in it: background-color
JavaScript is it Camel Case: backgroundColor
Here is the full code for the above screenshots. There are three files. index.html, style.css, and index.js. Should be able to copy them to the same folder and run the index.html file.
Index.html code
<!DOCTYPE html>
<html lang="en">
  <head>
    <link rel="stylesheet" href="style.css" />
    <meta charset="UTF-8" />
    <meta http-equiv="X-UA-Compatible" content="IE=edge" />
    <meta name="viewport" content="width=device-width, initial-scale=1.0" />
    <title>JavaScript DOM Practice</title>
  </head>
  <br />
  <section class="mainwindow">
    <div class="output">Click a button to change the background color</div>
    <br />
    <br />
    <br />
    <button type="button" class="button green">Green</button>
    <button type="button" class="button blue">Blue</button>
    <button type="button" class="button yellow">Yellow</button>
  </section>

  <body>
    <script src="index.js"></script>
  </body>
</html>
JavaScript index.js
'use strict'

document.querySelector('.green').addEventListener('click', function () {
  ChangeBackgrounColor('Green')
  LogBackgroundColor('Green')
})

document.querySelector('.blue').addEventListener('click', function () {
  ChangeBackgrounColor('Blue')
  LogBackgroundColor('Blue')
})

document.querySelector('.yellow').addEventListener('click', function () {
  ChangeBackgrounColor('Yellow')
  LogBackgroundColor('Yellow')
})

function ChangeBackgrounColor (color) {
  document.querySelector('body').style.backgroundColor = color
}

function LogBackgroundColor (color) {
  document.querySelector('.output').innerHTML = `Background is ${color}`
  console.log(`Background color is ${color}`)
}
CSS File style.css
.mainwindow {
  padding: 1rem;
}
body {
  background-color: white;
}
button {
  border: none;
  font-size: 24px;
  cursor: pointer;
  padding: 1rem 1.5rem;
  margin: 1rem;
}
.output {
  font-size: 2rem;
}