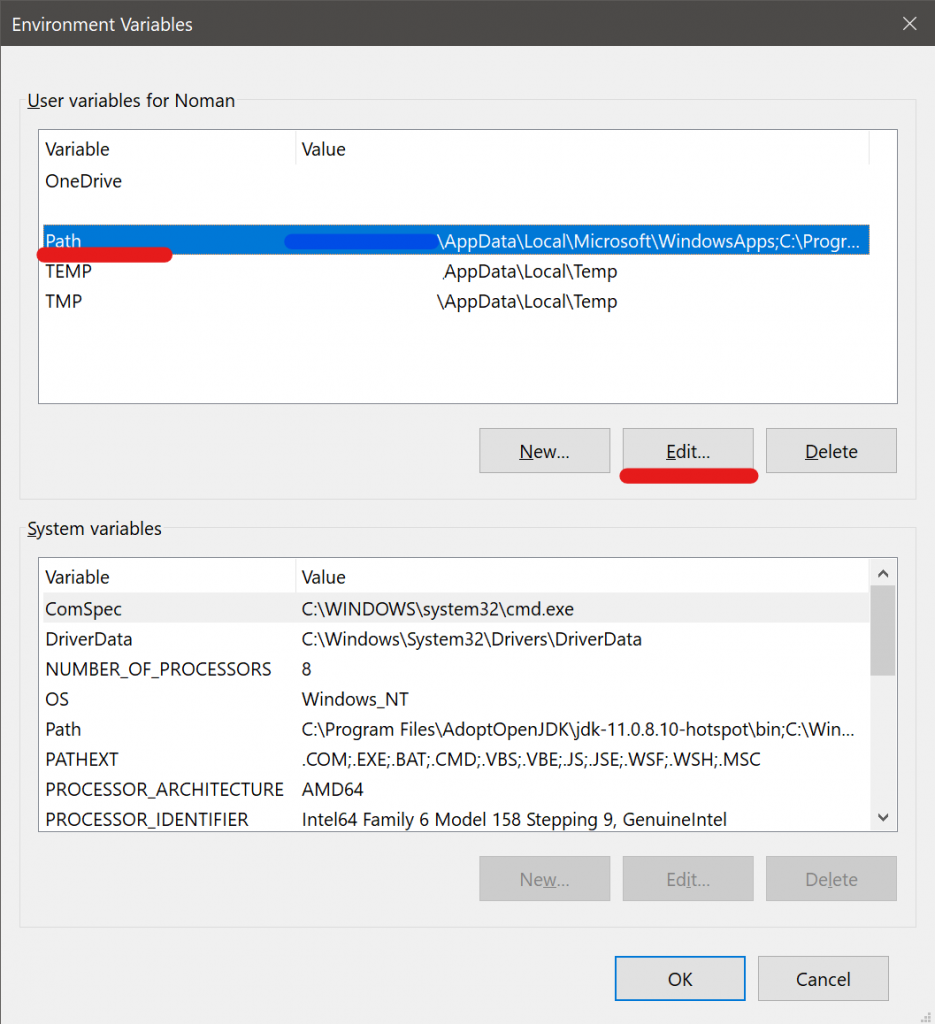
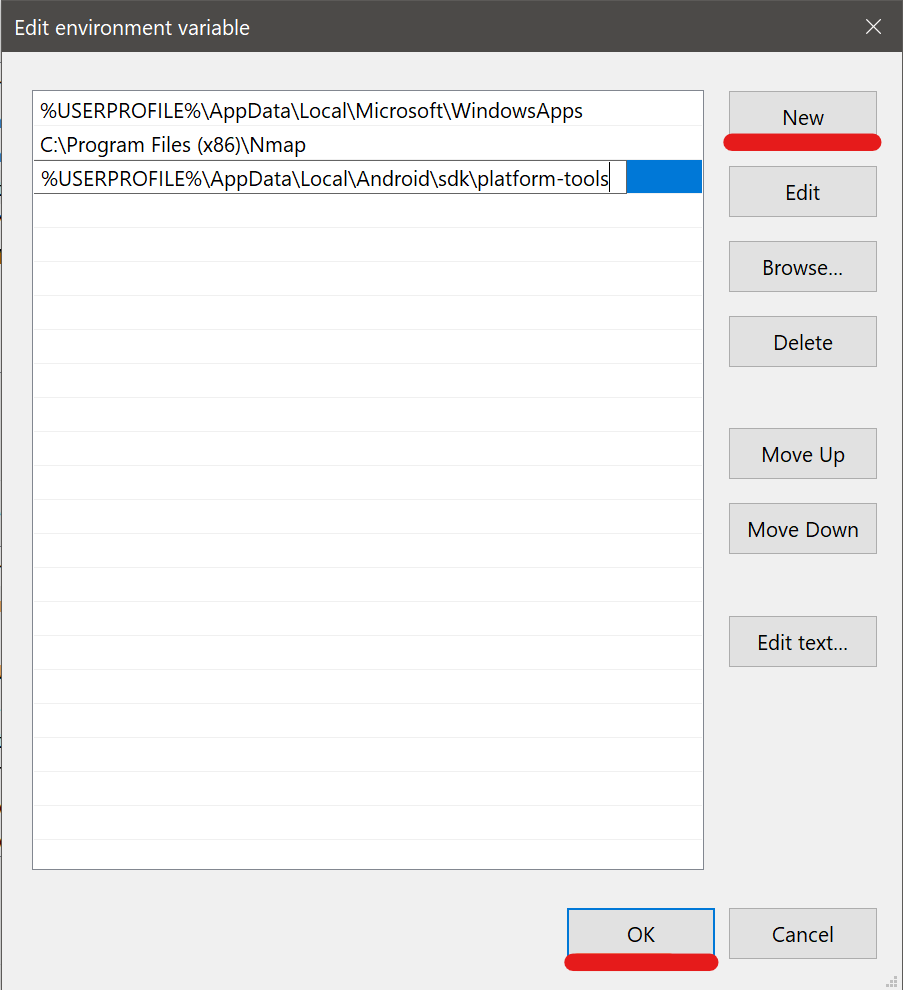
You should be good now. You’ll need to relaunch and Command Prompts you have open, but you should be able to run adb without having to navigate to the adb folder.
Recently upgraded a UniFi-Video VM by creating a new VM and restoring the backup from the previous one. There was a separate virtual disk used for storing all the videos. Although once I reattached it, I had to change the owner to the unifi-video user. lt was reporting that the owner/group was 127 and 134, looks like that was the user ID from the previous VM.
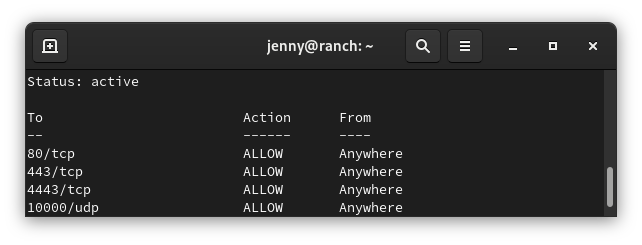
sudo ufw status numbered
Status: active
To            Action   From
--            ------   ----
[1] 3478/udp  ALLOW IN  Anywhere
[2] 5514/udp  ALLOW IN  Anywhere
[3] 8080/tcp  ALLOW IN  Anywhere
[4] 8443/tcp  ALLOW IN  Anywhere
[5] 8880/tcp  ALLOW IN  Anywhere
[6] 8843/tcp  ALLOW IN  Anywhere
[7] 6789/tcp  ALLOW IN  Anywhere
[8] 27117/tcp ALLOW IN  Anywhere
[9] 22/tcp    ALLOW IN  Anywhere
Delete rule
You need to know the number of the rule you want to delete. Replace number with the number of the rule from the status command
sudo ufw delete number
Reset rules
sudo ufw reset
Allow access to port from specific IP address
Example command allows access to SSH (port 22) from the 172.16.0.0/12 ip range.
sudo ufw allow proto tcp from 172.16.0.0/12 to any port 22
One note: It appears that you need to run the rule with every IP range you want to allow.
Allow access to port from all private IP ranges (RFC 1918)
If we wanted to allow SSH (port 22) from all local IP addresses, we would need to run the following three commands.
sudo ufw allow proto tcp from 10.0.0.0/8 to any port 22
sudo ufw allow proto tcp from 172.16.0.0/12 to any port 22
sudo ufw allow proto tcp from 192.168.0.0/16 to any port 22
The problem is that the code in SettingsActivity is not tied to the settings_activity.xml file. So it is using the activity_main.xml instead. It does in fact switch activities, the header at the top shows that it is in the Settings, but it shows the same information on the Main Activity. Problem showed up after copying and pasting code.
Check the following line under the initial onCreate function
override fun onCreate(savedInstanceState: Bundle?) {
        super.onCreate(savedInstanceState)
        setContentView(R.layout.activity_main)  // <-- Should be R.layout.settings_activity
The setContentView line should reflect the Layout XML file under res -> layout -> settings_activity.xml
The first two “2, and 2,ab” mean that the message has not been read. The bottom 2 “2,S and s,Sab” mean that the message has been read or “seen?”. Guess that is what the S is for. Not sure what ab is for.
This website stores cookies on your computer. These cookies are used to provide a more personalized experience and to track your whereabouts around our website in compliance with the European General Data Protection Regulation. If you decide to to opt-out of any future tracking, a cookie will be setup in your browser to remember this choice for one year.