These steps should work for multiple versions of Ubuntu Server.
Thankfully enabling automatic updates in Ubuntu is super easy.
First make sure that the “unattended-upgrades” package is installed
sudo apt install unattended-upgrades
It was already installed on my Ubuntu 20.04 server instance.
Next run dpkg to reconfigure and enable updates
sudo dpkg-reconfigure unattended-upgrades
You should get the following prompt.
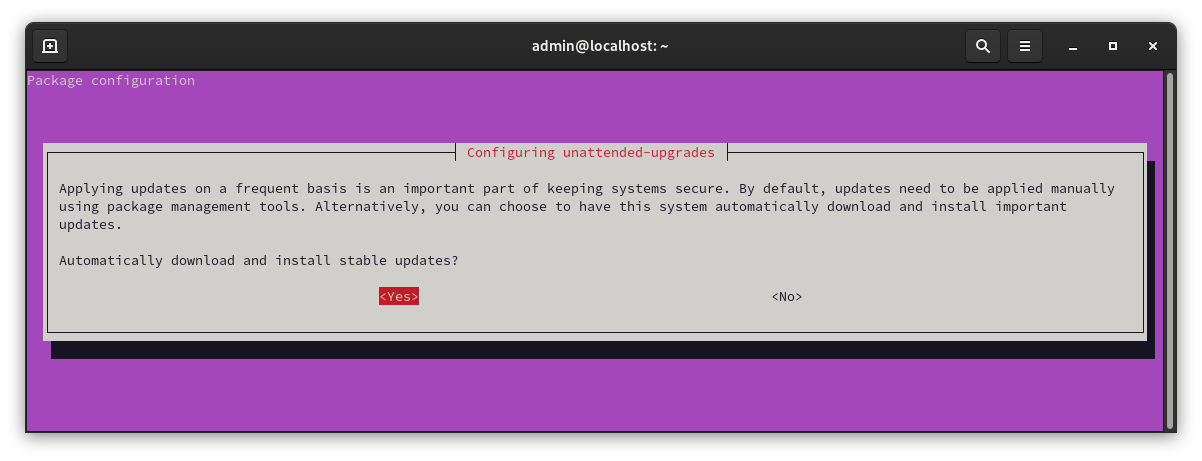
Hit “Yes” to enable.
Your system should now automatically install updates. however, if it needs to reboot it may not. You can configure the reboot options in
sudo vi /etc/apt/apt.conf.d/50unattended-upgrades
Scroll down to the Reboot lines and uncomment
// Automatically reboot *WITHOUT CONFIRMATION* if
//  the file /var/run/reboot-required is found after the upgrade
Unattended-Upgrade::Automatic-Reboot "true";  // <- Uncomment line

// If automatic reboot is enabled and needed, reboot at the specific
// time instead of immediately
// Default: "now"
Unattended-Upgrade::Automatic-Reboot-Time "02:00";  // <- Uncomment line
Save the file. Your system should now automatically install stable updates.
Disable automatic update
You can disable the automatic updates by running the dpkg command again.
sudo dpkg-reconfigure unattended-upgrades
and selecting “No”
Automatic updates should now be off.
More information can be found at the following link.
https://www.cyberciti.biz/faq/set-up-automatic-unattended-updates-for-ubuntu-20-04/