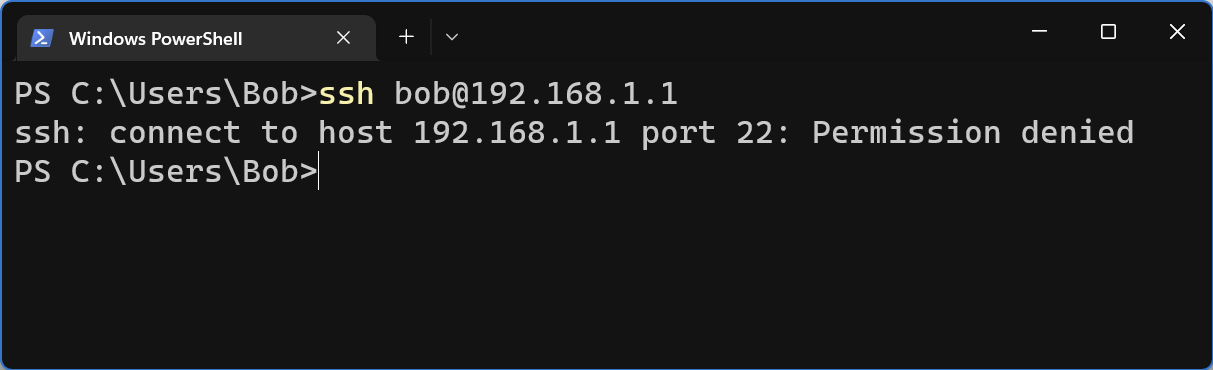
This could potentially be a number of issues. But Windows can show this error if you have any VPNs running that have the “Kill Switch” enabled. You can either add the local range as an exception, or not enable the Kill Switch.

This could potentially be a number of issues. But Windows can show this error if you have any VPNs running that have the “Kill Switch” enabled. You can either add the local range as an exception, or not enable the Kill Switch.
I found the following post that has a very comprehensive list of UniFi commands.
Some of the most common ones that are used
Reset a device
set-default
or
syswrapper.sh restore-default
Reboot a device
reboot
Connect device to a controller
After you run this command, adopt it in the controller and then run the command again.
set-inform http://ip-of-controller:8080/inform
Also note that the above command does not seem to work over https.
Adding a directory to your path is really easy.
The following command adds the ~/script_folder to our PATH paths. Once run, we’ll be able to call any script in the script folder like it was a system utility.
PATH="$HOME/script_folder/:$PATH"
If you would like to always be able to call any file in your scripts folder, add the above command to your ~/.bashrc file.
You may need to restart your session for it to work.
The Cambium equipment comes with a nice little ping utility when you SSH to it. Very simple to use. Maybe we should say too simple.
usage: ping <host>
       ping -n <count> <host>
                count = 0 for continuous ping
So if I want to continuously ping a website, say incredigeek.com, I can put in the following
ping -n 0 incredigeek.com
Hit return and we are off to the races. But wait. I can’t get it to stop. Ctrl + C, doesn’t do anything, Ctrl + D or Ctrl +Z don’t help either.
Okay well fine. We’ll launch another terminal and ssh into it again and see what we can do. Excellent, now we are in aaand… wait… why are the ping results showing up here too? Help!!!
Buried in the heart of the helpful help command are these lines.
       ping -- Send ICMP ECHO_REQUEST packets to network hosts
    pingend -- End ICMP ECHO_REQUEST packets to network hosts
You don’t say. Well lets try typing in pingend with all the commotion going on in the terminal.
SSH+> pingend
Ping statistics for 142.250.191.206:
        Packets: Sent = 3, Received = 3, Lost = 0 (0% loss)
Well good to know. Saves having to reboot the device.
This is helpful if you need to control the volume on a Mac that you have access to via SSH, or need to control it with a bash script.
Basic syntax
sudo osascript -e "set volume (0-10)"
Turn volume off
sudo osascript -e "set volume 0"
Turn volume to 100%
sudo osascript -e "set volume 10"
Turn volume to 51%
sudo osascript -e "set volume 5.1"
Backup
backup the UniFi directory
tar zcvf unifi-backup.tgz /usr/UniFi/
Move the tar archive off site.
Restore
Upload the backup file to the server.
Note: You will need to have the UniFi controller install already.
Copy the archive to the root directory and then extract it.
mv unifi-backup.tgz /
cd /
tar zxvf unifi-backup.tgz
Reboot the server and login to the UniFi controller.
reboot
Requirements
1. In Disk Utility format your USB drive as HFS+
2. Open up a terminal and mount the Yosemite Installer
sudo hdiutil attach /Applications/Install\ OS\ X\ Yosemite.app/Contents/SharedSupport/InstallESD.dmg
3. Restore the Yosemite InstallESD.dmg to your USB drive. Replace “USBDrive” with the name of your drive. You will be prompted for a Yes or No. Hit y and then Enter to continue and erase all the data on the USB drive.
sudo asr restore -source /Volumes/OS\ X\ Install\ ESD/BaseSystem.dmg -target /Volumes/USBDrive -erase -format HFS+
4. Delete and add some packages.
sudo rm /Volumes/OS\ X\ Base\ System/System/Installation/Packages
sudo cp -a /Volumes/OS\ X\ Install\ ESD/Packages /Volumes/OS\ X\ Base\ System/System/Installation/Packages
5. Copy some more files.
sudo cp -a /Volumes/OS\ X\ Install\ ESD/BaseSystem.chunklist /Volumes/OS\ X\ Base/System/
sudo cp -a /Volumes/OS\ X\ Install\ ESD/BaseSystem.dmg /Volumes/OS\ X\ Base/System/
7. Detach the USB Drive
hdiutil detach /Volumes/OS\ X\ Install\ ESD/
8. Plug the drive into a mac and start the installation.
cPHulk uses a MySQL database to keep track of different IP’s to block, white list, black list, etc.
When there have been X amount of failed login attempts from an IP, cPHulk adds an entry for the IP in the brutes table.
To “unblock” the IP we need to delete the entry.
open up the cPHulk MySQL database.
root@localhost [~]# mysql cphulkd
If your interested you can view all tables that cPHulk uses.
show tables;
Take a look at all the IP’s in the brutes table.
SELECT IP FROM brutes;
example:
mysql> SELECT IP FROM brutes;
+---------------+
| IP            |
+---------------+
| 30.134.41.221 |     <--  IP we want to unblock
| 31.134.40.251 |
+---------------+
2 rows in set (0.00 sec)

mysql>
To unblock the IP we just need to delete the row that has the IP address we want.
mysql> DELETE FROM brutes WHERE IP="30.134.41.221";
It should return the following.
mysql> DELETE FROM brutes WHERE IP="30.134.41.221";
Query OK, 1 row affected (0.00 sec)

mysql>
Exit MySQL.
mysql> exit
Bye
root@localhost [~]#
You can set a static ip address in OS X with the following command. Replace en0 with the appropriate interface.
sudo ipconfig set en0 INFORM 192.168.10.12
The default ethernet interface on a Mac is usually en0. You can run ifconfig to view all the interfaces available on the machine.
The ip address will last until you reboot.
The following command installs the .pkg to the local hard disk.
installer -pkg /Users/username/Desktop/package.pkg -target LocalSystem
You can also replace “LocalSystem with a “/” they both do the same thing.
If you want to install the package on a different disk you can change the -target to the drives path.
installer -pkg package.pkg -target "/Volumes/Macintosh HD2"
You can find more about the command by typing “man installer” in the terminal.