How to Create a Bootable macOS USB drive for Hackintosh with Clover

Whats needed

  1. Bootable macOS USB drive (Guide here)
  2. Clover (Download here, or on source forge)
  3. Computer running macOS to run clover from

Plug the drive into your Mac, or current Hackintosh and launch the Clover installation package you downloaded from above.  Click Continue

macos-clover-install-1

And continue again.macos-clover-install-2

Select “Change Install Location”macos-clover-install-3

Select your macOS Sierra Drive.  NOT YOUR main OS drivemacos-clover-install-4

Hit Continue, it’ll take you back to the screen before, now select Customize on the left and select the following options.macos-clover-install-5 macos-clover-install-6

Now Install.macos-clover-install-7 macos-clover-install-8

You should now be able to boot the USB on a PC.  You will need to change the settings on the PC to boot using EFI, and make sure your hardware is compatible.


Create Bootable macOS Sierra drive

You’ll need the following

  1. USB drive 8GB+
  2. macOS Sierra

The easy way to create a bootable macOS drive is by executing the following command.  This assumes your USB drive is named USBDrive and your macOS Sierra installer is in the Applications folder.  Change if needed.

sudo /Applications/Install\ macOS\ Sierra.app/Contents/Resources/createinstallmedia --volume /Volumes/USBDrive --applicationpath /Applications/Desktop/Install\ macOS\ Sierra.app

It’ll ask you for confirmation and then proceed to wipe the USB drive and put macOS on it.  Do note that it will erase the contents of the drive, so make sure you don’t have anything important on it.

Non interactive

You can add the option “–nointeraction” to have it not ask for confirmation.

Example :

sudo /Applications/Install\ macOS\ Sierra.app/Contents/Resources/createinstallmedia --volume /Volumes/USBDrive --applicationpath /Applications/Desktop/Install\ macOS\ Sierra.app --nointeraction


Installing macOS Sierra on Alienware 18 – Notes

Note : This is not a complete guide to Installing macOS Sierra on an Alienware, mainly just some notes for now.  Everything here should apply to the Alienware 14 and 17, and maybe some of the newer ones 15 R1, 17 R2, etc.

You will need to either patch the kernel for the Haswell CPU, or enable it from clover when booting up.   If you don’t, the system will reboot on start up (See Troubleshooting section).

You may need to boot with the nv_disable=1 option if you don’t have a supported nvidia card

Creating the Boot Drive

  • Download macOS Sierra
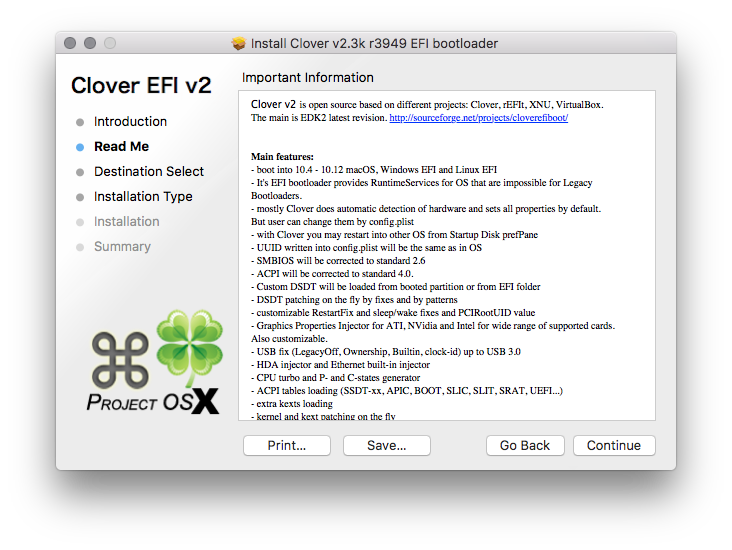
  • Download Clover (Download from SourceForge, or here)

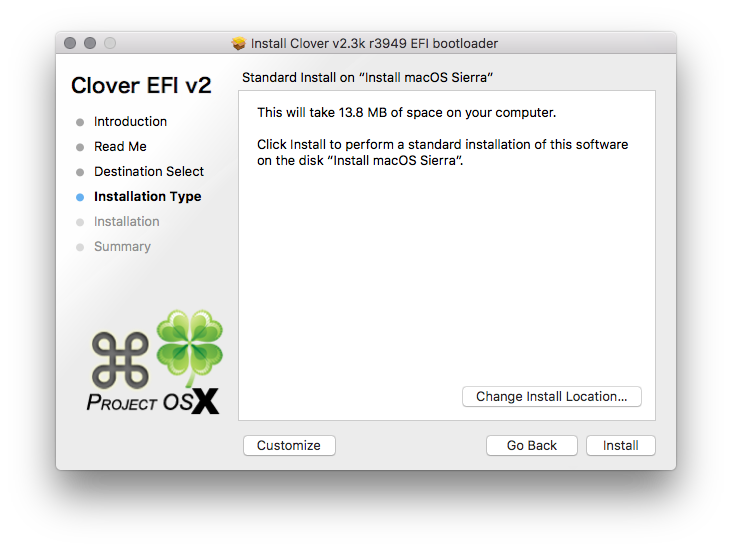
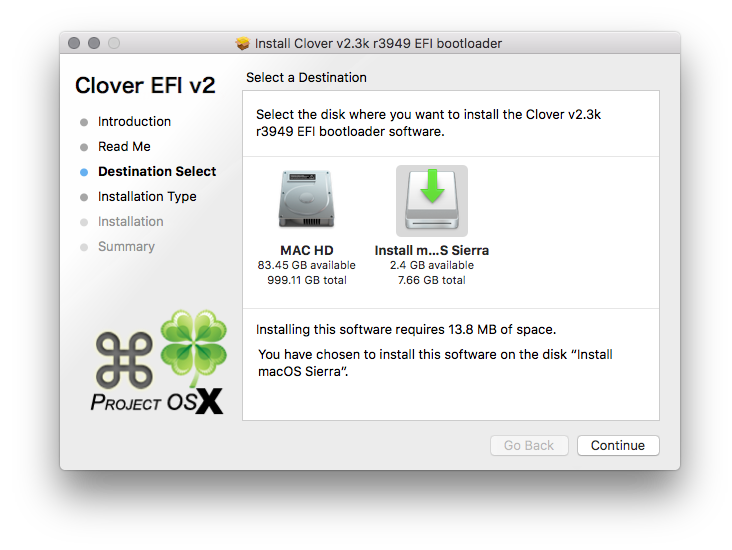
Create the boot drive just like you normally would and then run clover.  When you install Clover, be sure to CHANGE THE INSTALL LOCATION to the USB drive.

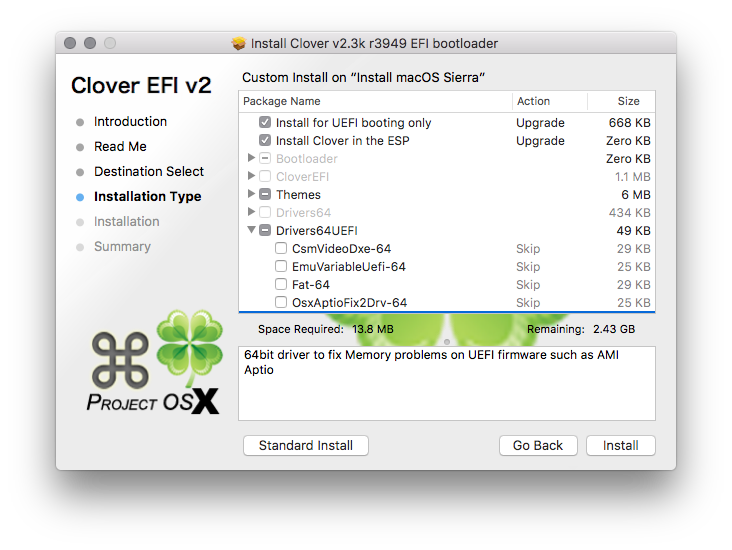
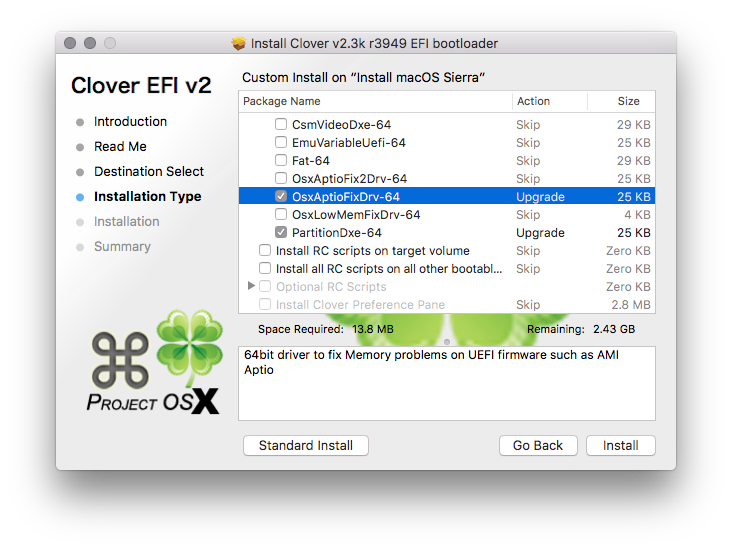
Also select the following options when installing clover.

  • Install for UEFI booting only
  • Install Clover in the ESP
  • Drivers64UEFI
    • OsxAptioFixDrv-64


After that is finished, you should be good to go.  Setup the Alienware BIOS for UEFI, and boot from the USB drive.  Install like you normally would.

POST Install

More coming later…

Troubleshooting

Alienware reboots after selecting the macOS drive in Clover.
Issue is related to the unpatched kernel for Haswell.

Fix :

  1. Once you get to clover, hit “o” this will give you the options menu
  2. Select “Binaries patching->
  3. Select “Kernel PM Patch
  4. Go back to the main menu
  5. Select the macOS drive and hit “Space Bar”
    1. Select the other options you want i.e.(safe mode, nv_disabled, etc.), and hit “Boot macOS with selected options

Black screen after selecting the macOS boot drive
Looks like the issue is some sort of incompatible hardware.  I had a wifi card that was causing trouble.

Fix:

Disable wireless card in BIOS.

Kernel Panic
Could be any number of things:(

Things to try,

Boot in safe mode

  1. Boot to clover
  2. Select the macOS drive
  3. Hit the “Space Bar”
  4. Select the option that says “Safe mode”
    1. Hit “Boot with selected Options”