Enable SNMP v3 on Dell iDRAC9

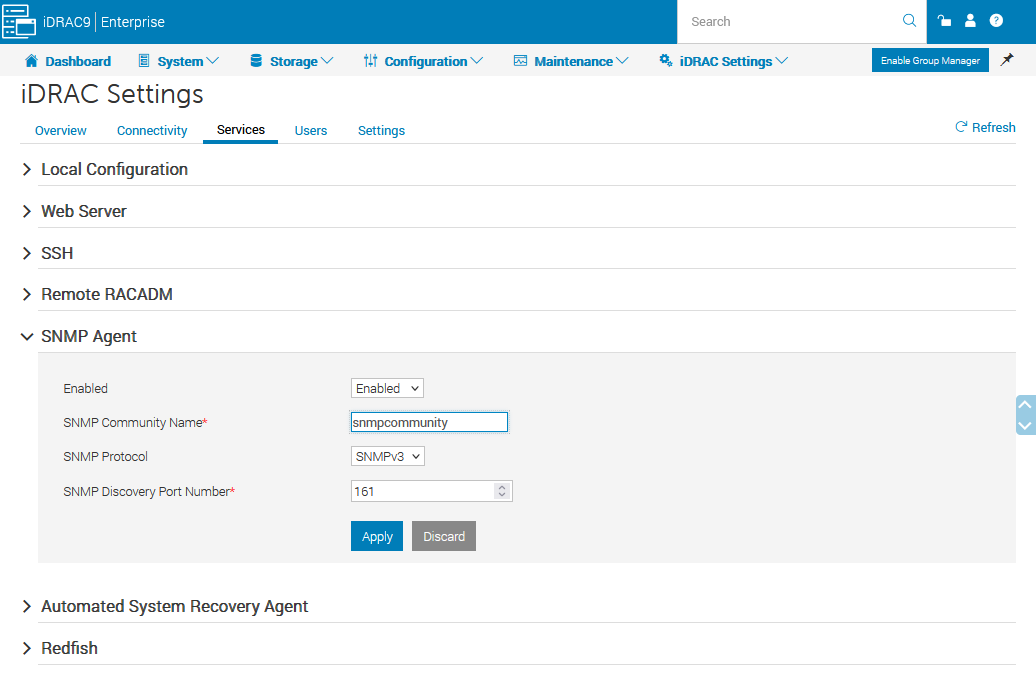
First go to iDRAC Settings > Services > SNMP Agent.

  • Change you SNMP Community Name. (This is not used for SNMPv3)
  • Enable SNMPv3.

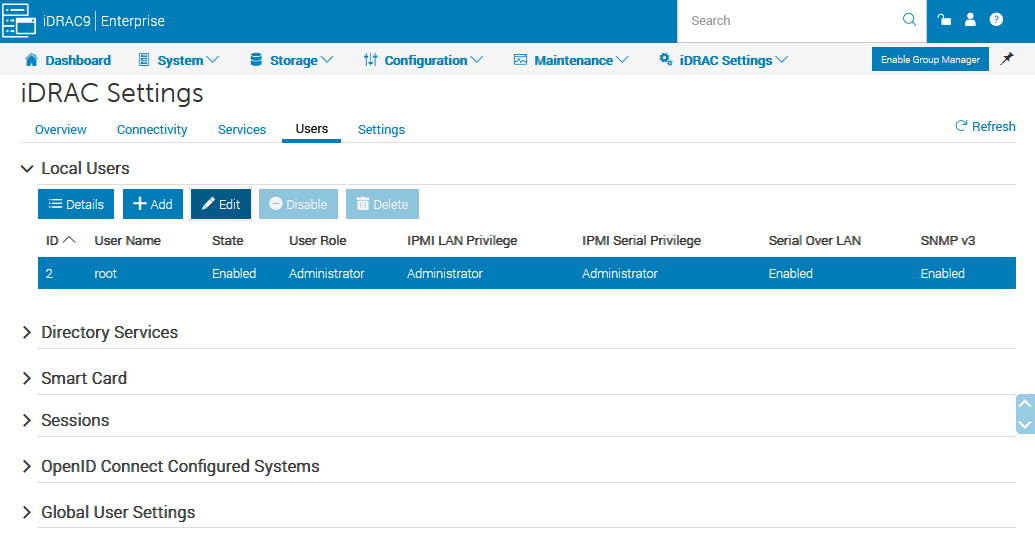
Next go to iDRAC Settings > Users.

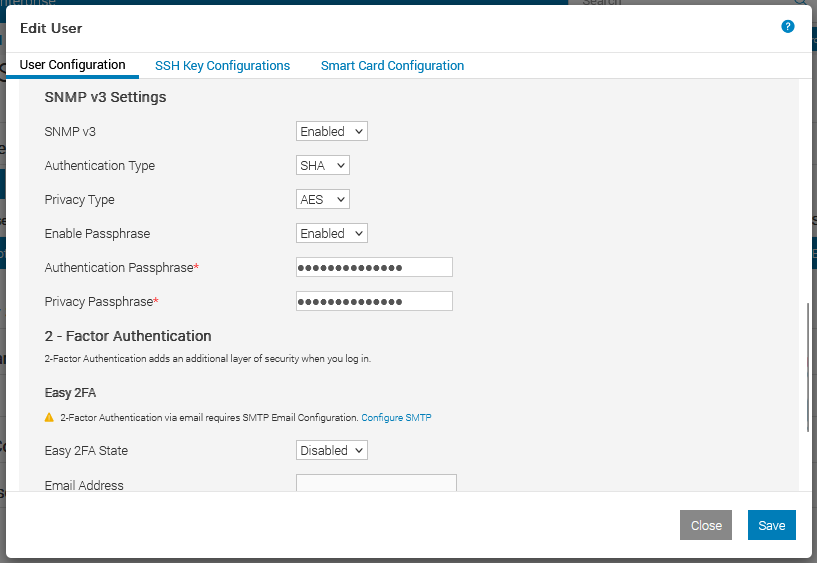
Edit the current user, or create a new user. Scroll down to SNMP V3 Settings.

  • Change SNMP v3 to Enabled.
  • Enable Passphrase.
  • Set Authentication and Privacy Passphrases.
  • Save.

Add your iDRAC to your monitoring software. You can verify everything works from a Linux machine that has the SNMP utils installed.

snmpwalk -v3 -a SHA1 -A "snmpv3userpass" -x AES -X "snmpv3userpass" -l authPriv -u root 192.168.1.100

How to Update Dell PowerEdge iDrac9

Log in to the iDrac. Go to Maintenance > System Update > Manual Update

Change the Location Type to HTTPS

Check “Use Default Address” This will populate the HTTPS Address with downloads.dell.com.

Click on Test network connection on the right hand side. If it succeeds, scroll down and click “Check for Update”

It will check for updates and give you an option to select and apply them.

Can you run a Dell PowerEdge server on 120v and 240v?

The short answer is no. At least on some of the newer Dell PowerEdge servers. There are some places online where it sounds like it may work with certain servers.

If you are running on 120v and then plug in a 240v line on the second PSU, the PSU light flashes 3 times and then stays off.

From the iDRAC we can see that one PSU Input Line Type is Low line (120v) and the other is High line (240v)

As a side note, the Input Wattage is different because we can pull more watts from a 240v line. Watts are Amps X Voltage, so halving our voltage, halves our total wattage.

Looking through the Lifecycle Log we see the following saying that the PSU is disabled because of a input voltage mismatch.