To increase a Windows VM disk size you’ll first need to shut down the VM and then increase the disk size from XenCenter. When you boot back up into the VM, the extra space shows up as unallocated. All that needs to be done is the main partition needs to be extended.
Open up the Windows Disk Management Utility. You can do this by clicking on the start button, typing in disk management and hit enter. This will bring up the Disk Management program.
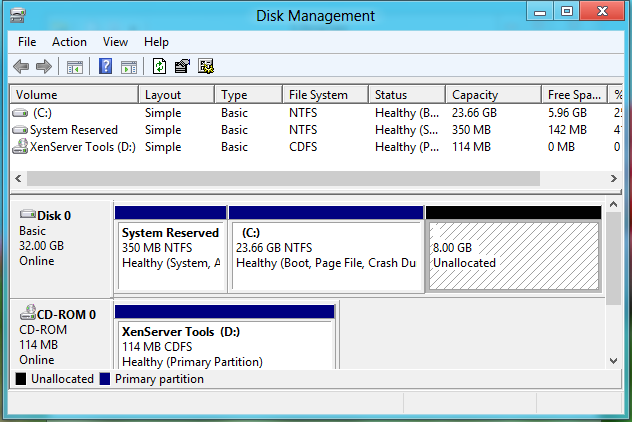
In disk manager, you should see the Unallocated space at the end of Disk 0, i.e. your main drive. Right click on your main partition (C:) and click Extend Volume. You will be presented with a wizard that will walk you through extending your disk.
Example:
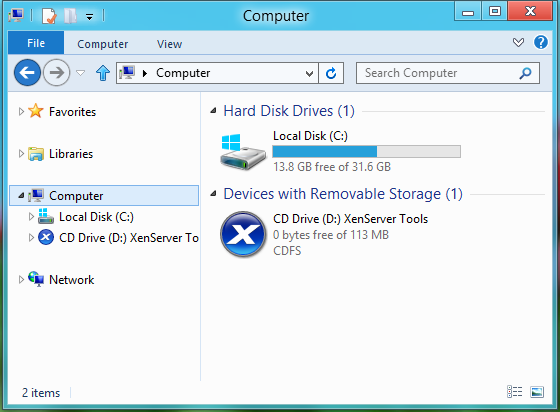
Before increasing the VM’s disk size.
The unallocated space is the extra space that we added via XenCenter. Right click on the middle partition (C:), and click extend.
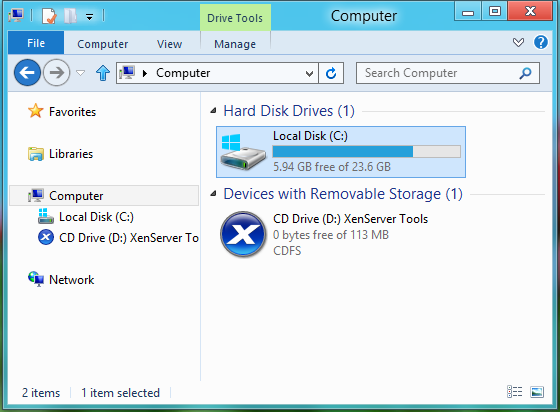
After were are finished extending the partition, we see that our main partition is about 8GB larger.