In the post, we’ll be adding a custom OID for a Ubiquiti Solar Charge Controller.
- Find the device OID
- Add the Custom OID in LibreNMS
- Check the graph
Find the custom OID
Check out the following post if you are trying to add a Ubiquiti Solar Charge controller graph to LibreNMS. Otherwise you may need to do some googling around looking for the OID.
Add Custom OID in LibreNMS
Go to your device -> Settings(Little Gear) -> Custom OID -> +Add New OID
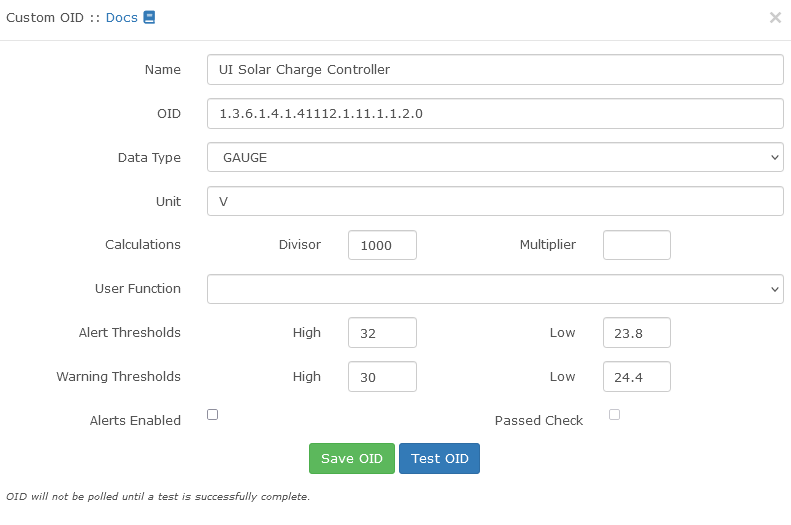
Couple notes about the information.
– There needs to be a 0 after the end of the OID.
– Data Type needs to be Gauge, Not Counter. A gauge can go up and down. A counter just counts up.
Hit “Test OID” and you should get a little notification saying it got a value for the OID. In this case 25572.

Now Hit “Save OID”
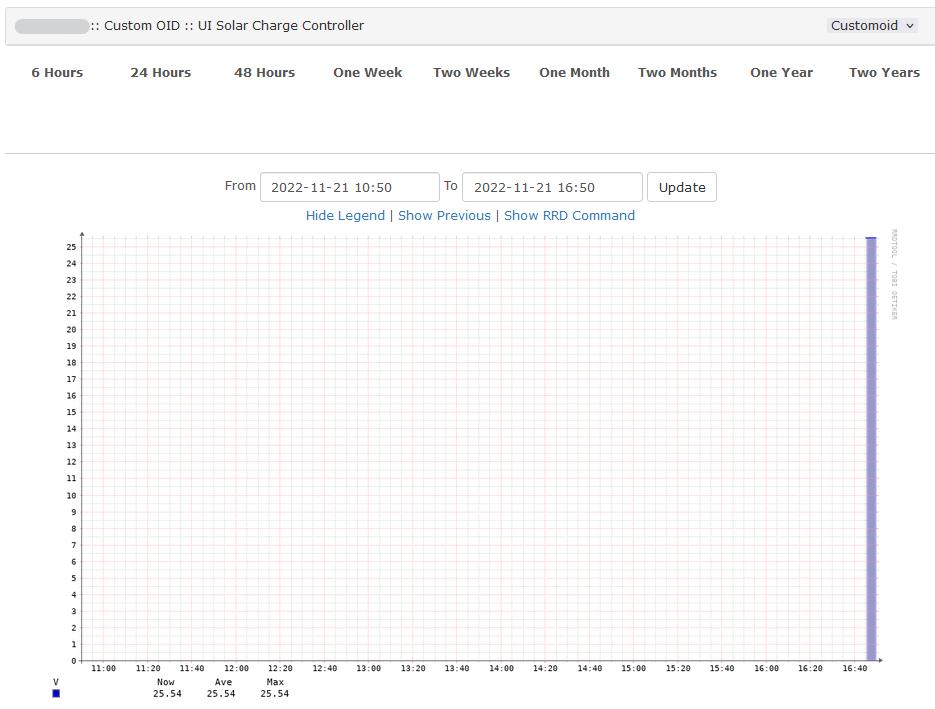
Check the Graph
Now LibreNMS should start graphing our Custom OID. You may need to give it a minute to start showing data.
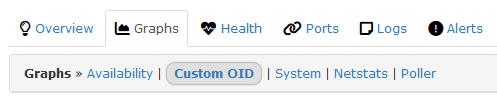
The graphs show up under Graphs -> Custom OID