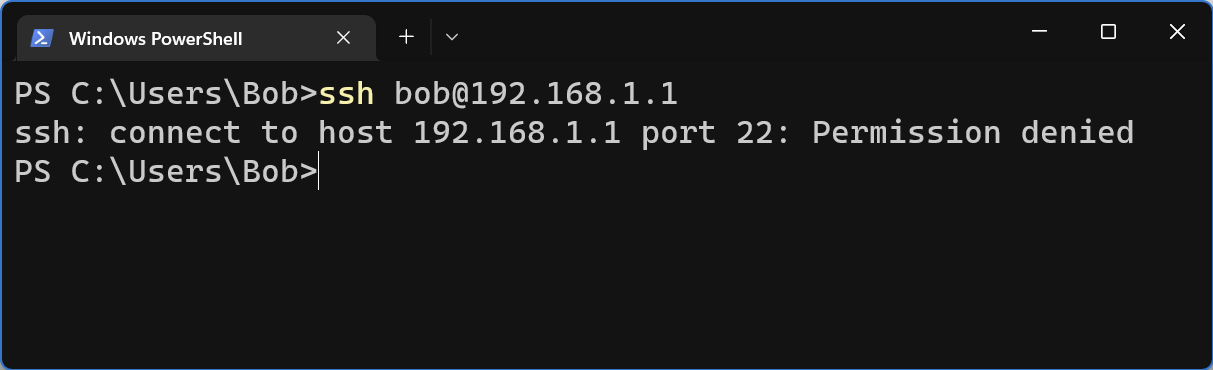
This could potentially be a number of issues. But Windows can show this error if you have any VPNs running that have the “Kill Switch” enabled. You can either add the local range as an exception, or not enable the Kill Switch.

This could potentially be a number of issues. But Windows can show this error if you have any VPNs running that have the “Kill Switch” enabled. You can either add the local range as an exception, or not enable the Kill Switch.
vty stands for Virtual Teletype. What is Teletype?
The teletype, or teleprinter, is a device used for communicating text over telegraph lines, public switched telephone network, Telex, radio, or satellite links.
Wikipedia explanation of teletype
https://en.wikipedia.org/wiki/Teleprinter
This means vty is essentially like a virtual computer screen plugged into the router that we can remotely access.
Both SSH and Telnet use this virtual monitor to let you see the router/switch.
The command
line vty 0 4
Configures 5 of these virtual teletypes (vty’s) for us to use. Can think of it having 5 monitors connected to the router. When you SSH to it, you are claiming one of these monitors. Cisco devices support up to a maximum of 16. 0-15
First we’ll need to ssh into the device
ssh ubnt@192.168.1.20
Next lets open up the config file
vi /tmp/system.cfg
Now search for vlan and replace the vlan id with the appropriate number
In VI you can search by hitting / and then type in vlan
After you have changed all the vlan ids, save the file with esc, wq, enter.
Now we can save the config with
cfgmtd -f /tmp/system.cfg -w && reboot
The following is a very basic guide for setting up Fail2ban for SSH.
Install Fail2ban
sudo dnf install fail2ban
You may need to install the epel repo
sudo yum install epel-release
Configure to run on system boot
sudo systemctl enable fail2ban
Start Fail2ban service
sudo systemctl start fail2ban
Copy config file with
sudo cp /etc/fail2ban/jail.conf /etc/fail2ban/jail.local
Modify the config file
nano /etc/fail2ban/jail.local
Uncomment the following line and add any IPs that need to be whitelisted
ignoreip = 127.0.0.1/8 ::1 192.168.1.20
Save the file and restart Fail2Ban
sudo systemctl restart fail2ban
Create a new jail file in /etc/fail2ban/jail.d/ called sshd.local
nano /etc/fail2ban/fail.d/sshd.local
Add the following. Note: if you are using a custom ssh port, change “port = ssh” to “port = portnumber”
[sshd]
enabled = true
port = ssh
action = iptables-multiport
logpath = /var/log/secure
maxretry = 5
bantime = 300
Restart Fail2ban
sudo systemctl restart Fail2ban
You can list the firewall rules to verify that an IP gets banned.
iptables -S | grep ipaddress
You can unban an IP address with the following command.
sudo fail2ban-client set sshd unbanip 192.168.1.100
You can check out the following link for more information
It can be common for older devices to throw errors like the following when trying to ssh into them.
Unable to negotiate with 192.168.1.1 port 22: no matching key exchange method found. Their offer: diffie-hellman-group-exchange-sha1,diffie-hellman-group14-sha1
or
Unable to negotiate with 192.168.1.1 port 22: no matching host key type found. Their offer: ssh-rsa
There can also be a No Matching Cipher Found error. We have talked about that in the past.
The issue is that your version of SSH does not support those older, and most likely insecure, Key Exchange and Host Key algorithms types. The errors do give us enough info to add the right options to connect to the device.
For the “no matching key exchange method found.” we need to manually add the KexAlgorithms option. KexAlgorithms means Key Exchange Algorithm.
ssh -o KexAlgorithms=+diffie-hellman-group14-sha1 username@192.168.1.1
Change out “diffie-hellman-group14-sha1” for a supported Key Exchange algorithm.
This issue is with the Host Key algorithm type. We’ll use the -o option with the HostKeyAlgorithms option.
ssh -o HostKeyAlgorithms=+ssh-rsa admin@192.168.1.1
Change our ssh-rsa with a supported “Their offer:” Host Key.
You can combine the options if needed.
ssh -o KexAlgorithms=+diffie-hellman-group14-sha1 -o HostKeyAlgorithms=+ssh-rsa admin@192.168.1.1
We have covered some of these topics before. Be sure to check them out.
no matching cipher found. Their offer: aes128-cbc,3des-cbc…
no matching key exchange method found. Their offer: diffie-hellman-group1-sha1

ansible-playbook -i inventory/hosts setup.yml --tags=setup-system-user --ask-become-pass
Looks like the above issue is that Ansible is not able to authenticate with the server. By default it looks to try and use ssh keys, but I don’t have any passwordless ssh keys set up for Ansible to use so it fails while attempting to connect. The work around it to make sure you have sshpass installed and then specify –ask-pass to the end of the command.
ansible-playbook -i inventory/hosts setup.yml --tags=setup-system-user --ask-become-pass --ask-pass
When the command runs it’ll ask you for the ssh password and then use that.
For some reason I ran into an issue where I can not remove authorized SSH Keys in AirOS version 6.3. It redirects to a 404 page and then to the main page.
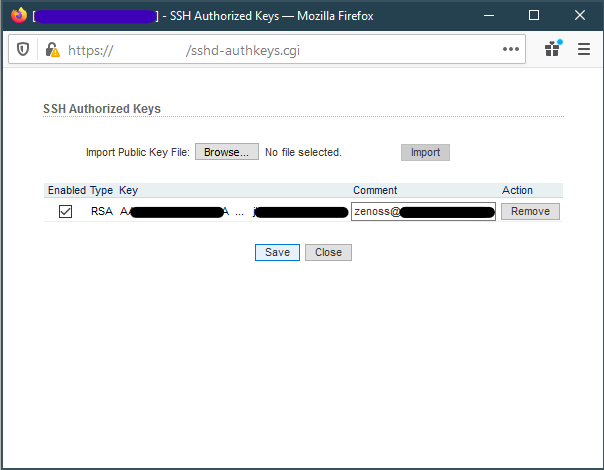
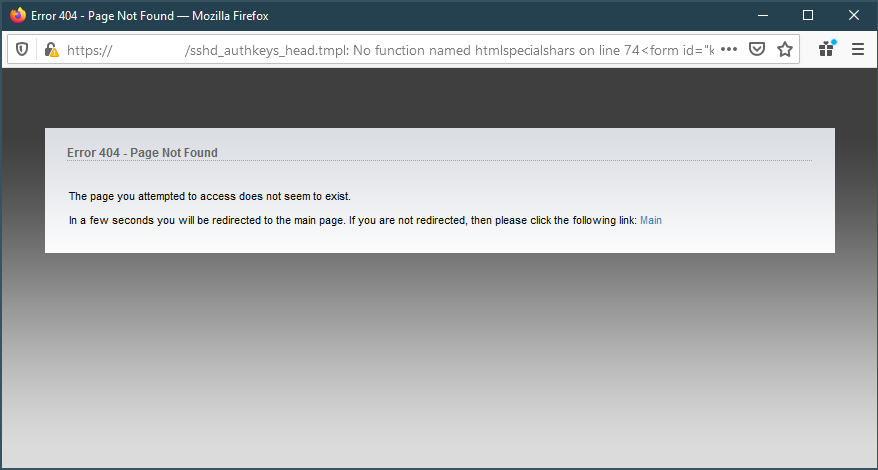
Thankfully, we can still remove the authorized keys from the command line. For more information on making changes over SSH, refer to the following post.
SSH into radio. Replace username and IP address with your radios user and IP.
ssh ubnt@192.168.1.20
Open up config file
vi /tmp/system.cfg
Search for the lines that contain
the sshd.auth.key and remove them

Save the file and write the configuration with
/usr/etc/rc.d/rc.softrestart save
Once the command completes, you should be good to go.
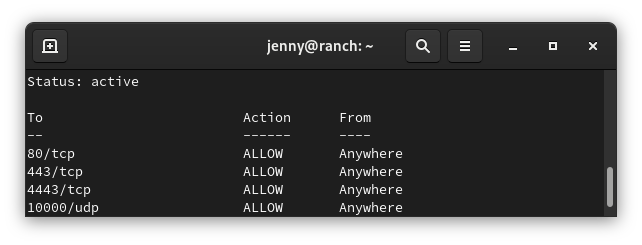
Below are some simple commands around working with UFW. UFW is included in Ubuntu. However it may need to be enable.
sudo ufw status
sudo systemctl stop ufw && sudo systemctl disable ufw
sudo systemctl stop ufw
sudo systemctl stop ufw
sudo ufw enable
sudo ufw allow 22/tcp
sudo ufw status numbered
Example output
sudo ufw status numbered Status: activeTo Action From-- ------ ----[1] 3478/udp ALLOW IN Anywhere [2] 5514/udp ALLOW IN Anywhere [3] 8080/tcp ALLOW IN Anywhere [4] 8443/tcp ALLOW IN Anywhere [5] 8880/tcp ALLOW IN Anywhere [6] 8843/tcp ALLOW IN Anywhere [7] 6789/tcp ALLOW IN Anywhere [8] 27117/tcp ALLOW IN Anywhere [9] 22/tcp ALLOW IN Anywhere
You need to know the number of the rule you want to delete. Replace number with the number of the rule from the status command
sudo ufw delete number
sudo ufw reset
Allow access to port from specific IP address
Example command allows access to SSH (port 22) from the 172.16.0.0/12 ip range.
sudo ufw allow proto tcp from 172.16.0.0/12 to any port 22
One note: It appears that you need to run the rule with every IP range you want to allow.
Allow access to port from all private IP ranges (RFC 1918)
If we wanted to allow SSH (port 22) from all local IP addresses, we would need to run the following three commands.
sudo ufw allow proto tcp from 10.0.0.0/8 to any port 22
sudo ufw allow proto tcp from 172.16.0.0/12 to any port 22
sudo ufw allow proto tcp from 192.168.0.0/16 to any port 22
The following link has more information regarding UFW firewall and subnets.
https://www.cyberciti.biz/faq/ufw-allow-incoming-ssh-connections-from-a-specific-ip-address-subnet-on-ubuntu-debian/
From the server side, edit the /etc/ssh/sshd_config
Change, uncomment, or add
ClientAliveInterval 120
ClientAliveCountMax 15
Change the AliveInterval and CountMax as desired.
More info on the AliveIntercal and CountMax.
ClientAliveCountMax Sets the number of client alive messages which may be sent without sshd(8) receiving any messages back from the client. If this threshold is reached while client alive messages are being sent, sshd will disconnect the client, terminating the session. It is important to note that the use of client alive messages is very different from TCPKeepAlive. The client alive messages are sent through the encrypted channel and therefore will not be spoofable. The TCP keepalive option enabled by TCPKeepAlive is spoofable. The client alive mechanism is valuable when the client or server depend on knowing when a connection has become unresponsive.
The default value is 3. If ClientAliveInterval is set to 15, and ClientAliveCountMax is left at the default, unresponsive SSH clients will be disconnected after approximately 45 seconds. Setting a zero
ClientAliveCountMax disables connection termination.ClientAliveInterval Sets a timeout interval in seconds after which if no data has been received from the client, sshd(8) will send a message through the encrypted channel to request a response from the client. The default is 0, indicating that these messages will not be sent to the client.
More information
https://man.openbsd.org/sshd_config
https://www.freebsd.org/doc/handbook/backup-basics.html
The dump command can be used to dump a backup of a FreeBSD system. You can pipe it to a remote system using SSH.
dump -0uan -f - /usr | gzip -2 | ssh username@server-ip-address dd of=/backup/freebsd/dump-usr-backup.gz