In the post, we’ll be adding a custom OID for a Ubiquiti Solar Charge Controller.
Find the device OID
Add the Custom OID in LibreNMS
Check the graph
Find the custom OID
Check out the following post if you are trying to add a Ubiquiti Solar Charge controller graph to LibreNMS. Otherwise you may need to do some googling around looking for the OID.
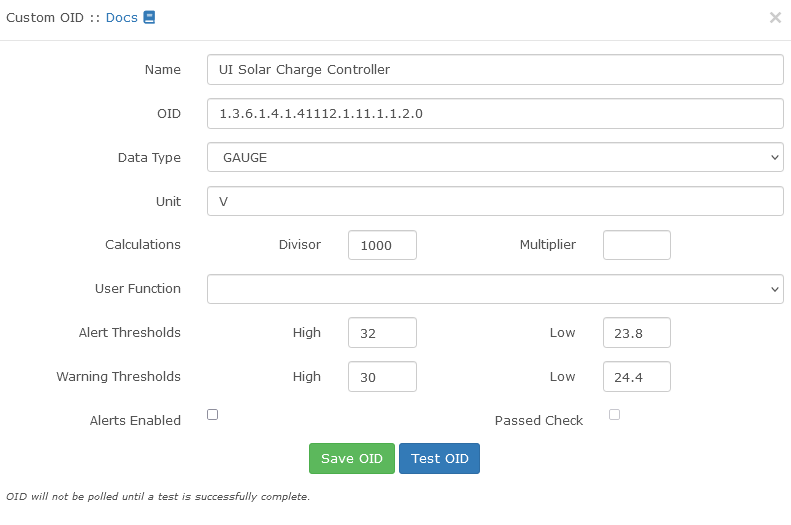
Go to your device -> Settings(Little Gear) -> Custom OID -> +Add New OID
Adding Custom OID in LibreNMS for Ubiquiti UI Charge Controller
Couple notes about the information. – There needs to be a 0 after the end of the OID. – Data Type needs to be Gauge, Not Counter. A gauge can go up and down. A counter just counts up.
Hit “Test OID” and you should get a little notification saying it got a value for the OID. In this case 25572.
Test Custom OID in LibreNMS for Ubiquiti UI Charge Controller
Now Hit “Save OID”
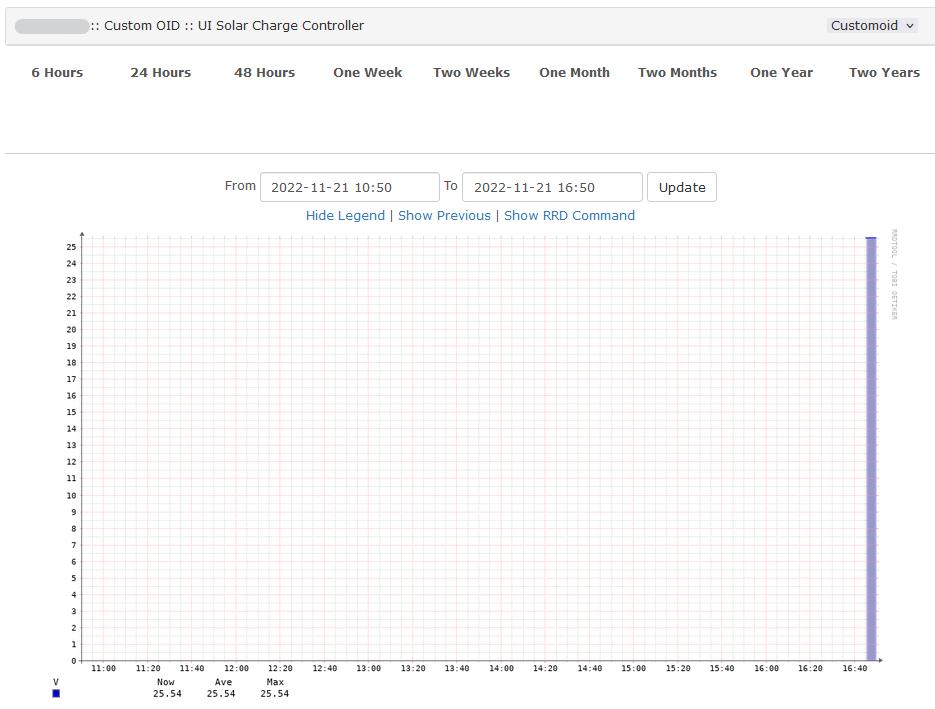
Check the Graph
Now LibreNMS should start graphing our Custom OID. You may need to give it a minute to start showing data.
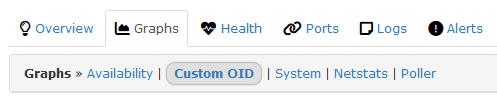
The graphs show up under Graphs -> Custom OID
Where are Custom OID Graphs?LibreNMS Custom OID Graph
Create docker compose file with the following options
vi docker-compose.yml
Change the TZ to your time zone. If you have issues with the graphs, most likely something is off with the time zone between this container and Grafana/LibreNMS server
A note on SSL/TLS certificates. If you have an SSL certificate for LibreNMS, you can use it for grafana. If you run into issues, try copying the cert (fullchain.pem, privkey.pem) to /etc/grafana/
In Grafana, go to Configuration -> Data Sources -> Add data source
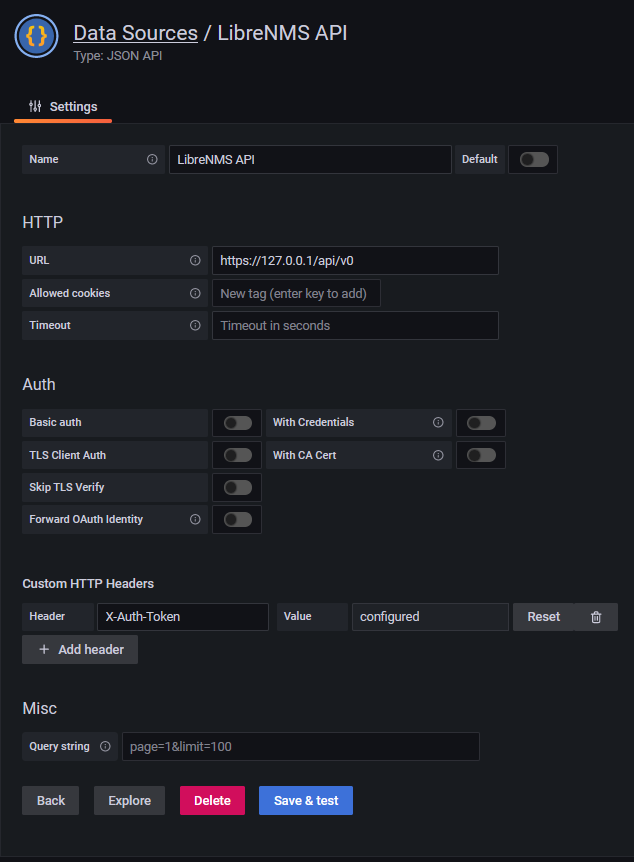
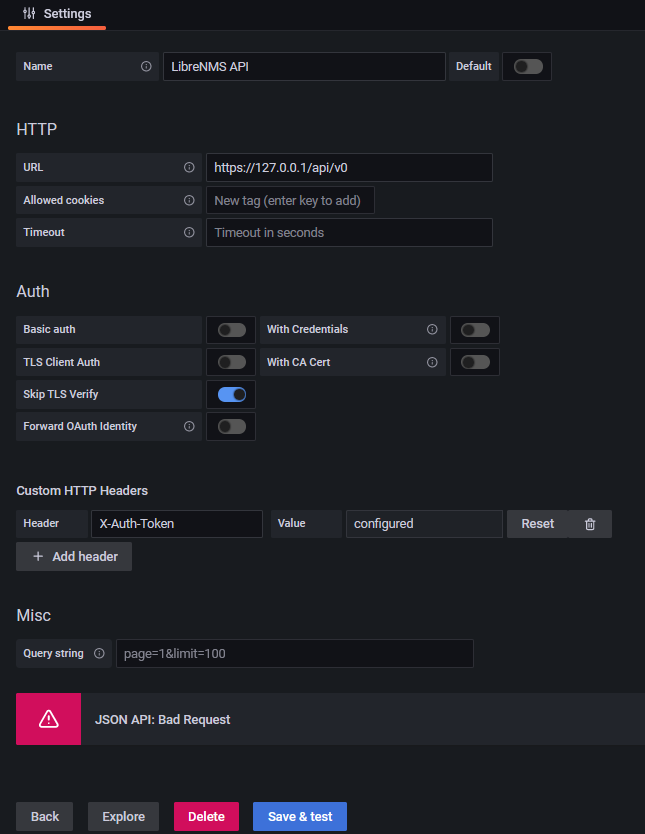
Set Name for Data Source
URL should be https://your_librenms_url/api/v0
Add Custom HTTP Header
Header field should be “X-Auth-Token”
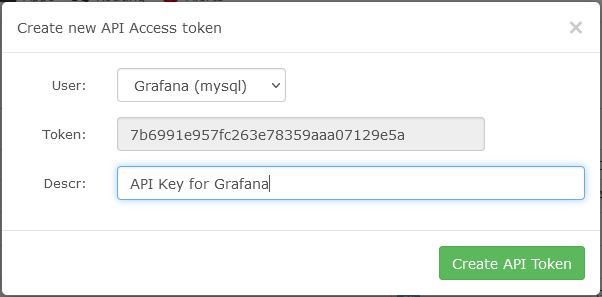
Value field should contain the API token we created in LibreNMS
Save and Test If you receive any errors, refer to the Troubleshooting part at the end.
Adding LibreNMS API Data Source in Grafana
Add RRDReST Data Source
In Grafana, go to Configuration -> Data Sources -> Add data source
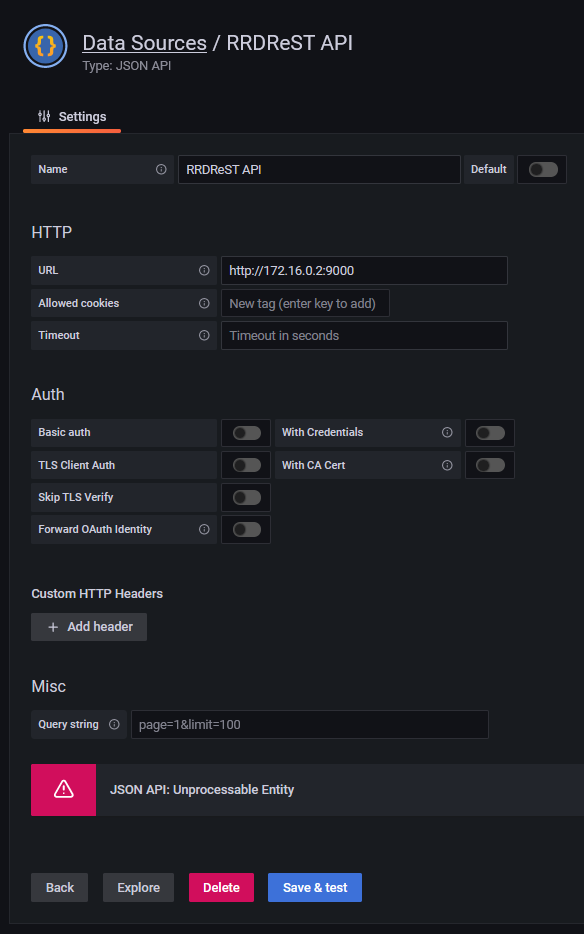
Set Name for Data Source
URL needs to be your docker container IP address (Steps above)
Save and Test (Should return “Unprocessable Entity”)
Adding RRDReST API Data Source in Grafana
Import Dashboard into Grafana
Now we need a dashboard to present our data.
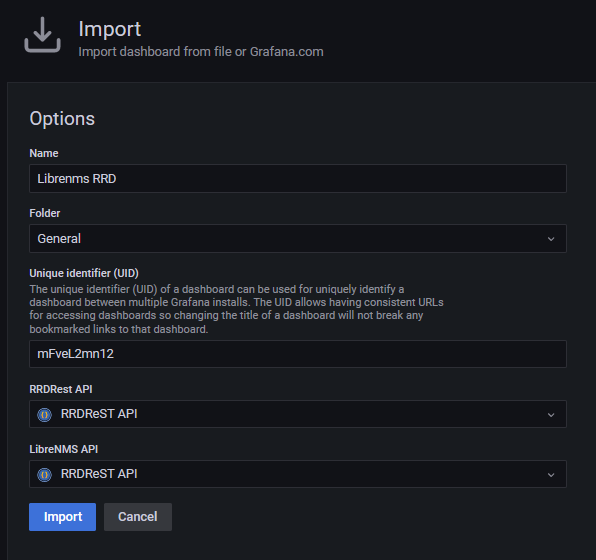
Go to Create -> Import
Upload JSON file (Download from here or PasteBin )
Under RRDReST API , select our RRDReST Data Source
Under LibreNMS API , select our LibreNMS Data Source
Click Import
You should now be able to view your dashboard and use the drop down menus to select devices
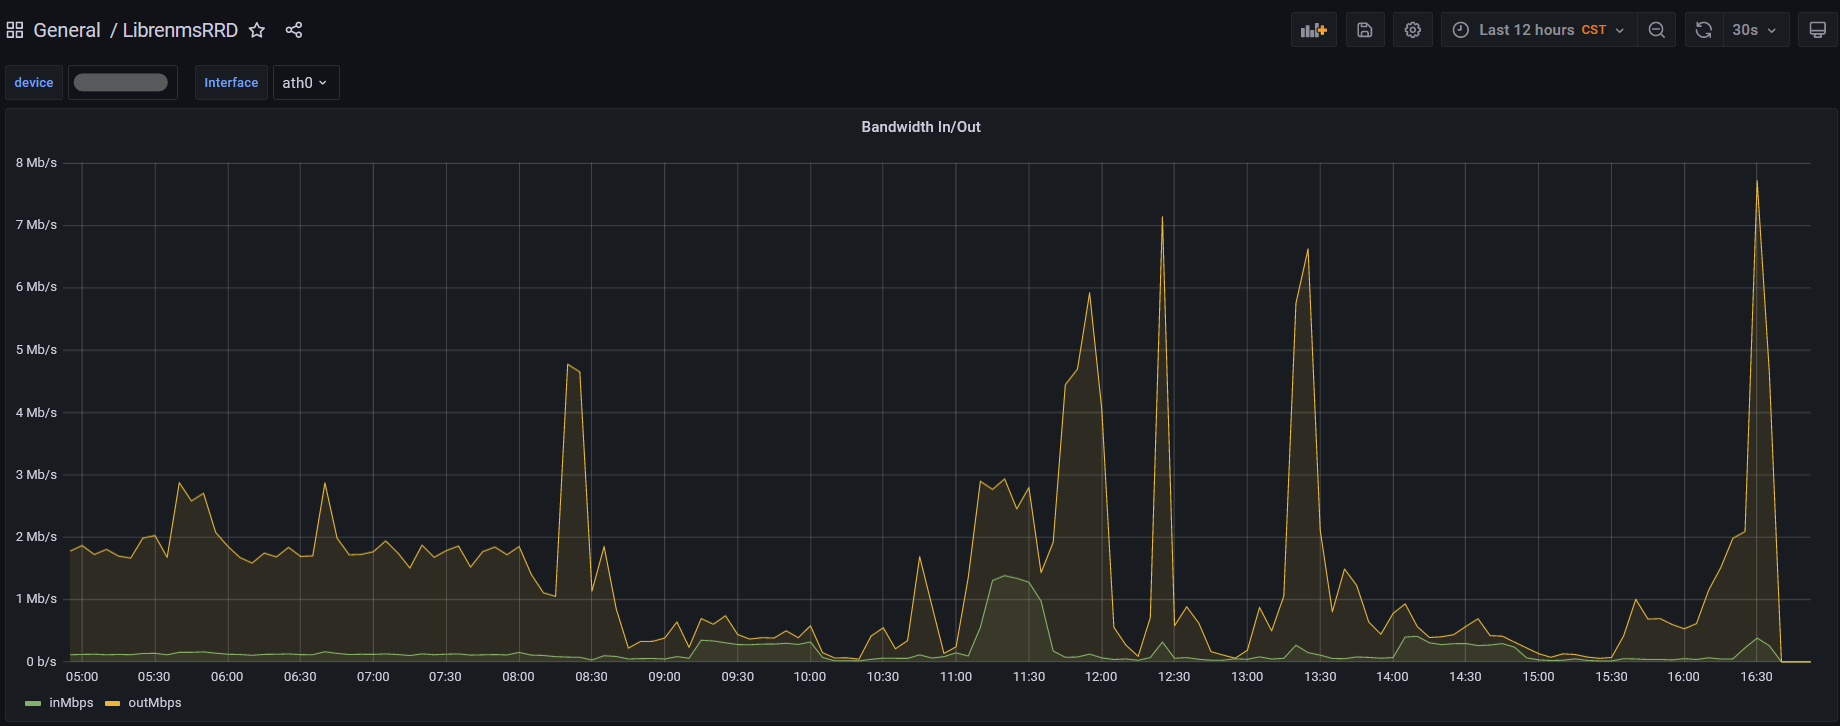
Grafana viewing bandwidth on device being monitored by LibreNMS
Troubleshooting
There were a couple of issues I ran into while trying to get everything working together.
RRDReST shows 404 Not Found
Issue: When trying to run RRDReST with uvicorn, I was never able to access the rrd files, even the test rrd files that are included when installing RRDReST. I am guessing it is either a permisions issue, or something unable to access the files. Work around: Install RRDReST via Docker container.
Error Running uvicorn RRDReST
Error Adding LibreNMS API
Issue: Get a “JSON API: Bad Request” when trying to set up the LibreNMS API Data Source in Grafana.
Work around: Install a valid SSL Certificate and set up a DNS record so you can access LibreNMS at librenms.yourdomain.com.
More info: I would assume that “Skip TLS Verify” would work with or without a valid certificate, but it would not work for me. There are potentially some other options with modifying how Nginx or Apache is set up that would get this working. If you setup Grafana to use a SSL certificate, you may need to copy the certificate files (fullchain.pem, privkey.pem) to /etc/grafana/ and run “chown root:grafana *.pem” to let grafana have access to the files.
Running the ./validate.php script returns the following error
[FAIL]  Python3 module issue found: 'Required packages: ['PyMySQL!=1.0.0', 'python-dotenv', 'redis>=3.0', 'setuptools', 'psutil>=5.6.0', 'command_runner>=1.3.0']
Package not found: The 'command_runner>=1.3.0' distribution was not found and is required by the application
'
        [FIX]:
        pip3 install -r /opt/librenms/requirements.txt
Running the [FIX] throws an error saying gcc failed with exit status 1.
The Solution
Fortunately this issue is easy to resolve.
First we need to install python3-devel
sudo yum install python3-devel
Next, as the librenms user, run the pip command to install the requirements.
Recently I started getting the following error while running ./validate.php.
$ sudo -u librenms ./validate.php
====================================
Component | Version
--------- | -------
LibreNMS | 21.8.0-41-g0a76ca4
DB Schema | 2021_08_26_093522_config_value_to_medium_text (217)
PHP | 7.4.20
Python | 3.6.8
MySQL | 10.5.10-MariaDB
RRDTool | 1.4.8
SNMP | NET-SNMP 5.7.2
====================================
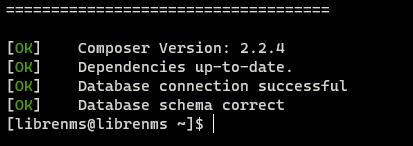
[OK] Composer Version: 2.1.6
[OK] Dependencies up-to-date.
[OK] Database connection successful
[FAIL] Database: incorrect column (notifications/datetime)
[FAIL] Database: incorrect column (users/created_at)
[FAIL] We have detected that your database schema may be wrong, please report the following to us on Discord (https://t.libren.ms/discord) or the community site (https://t.libren.ms/5gscd):
[FIX]:
Run the following SQL statements to fix.
SQL Statements:
SET TIME_ZONE='+00:00';
ALTER TABLE `notifications` CHANGE `datetime` `datetime` timestamp NOT NULL DEFAULT '1970-01-02 00:00:00' ;
ALTER TABLE `users` CHANGE `created_at` `created_at` timestamp NOT NULL DEFAULT '1970-01-02 00:00:01' ;
Reading online it sounds like some of the recent changes are causing the issue. Looks fairly easy to resolve though.
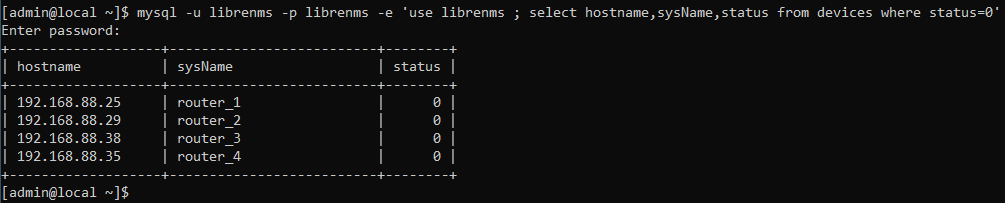
First we’ll need to get a MySQL prompt. We’ll do that by running
mysql -u librenms -p librenms
It’ll ask use for the librenms user’s mysql password.
Once we have the MySQL prompt we can just copy and paste the commands in.
SET TIME_ZONE='+00:00';
ALTER TABLE `notifications` CHANGE `datetime` `datetime` timestamp NOT NULL DEFAULT '1970-01-02 00:00:00' ;
ALTER TABLE `users` CHANGE `created_at` `created_at` timestamp NOT NULL DEFAULT '1970-01-02 00:00:01' ;
Type ‘quit’ to exit MySQL and lets run the validate script again.
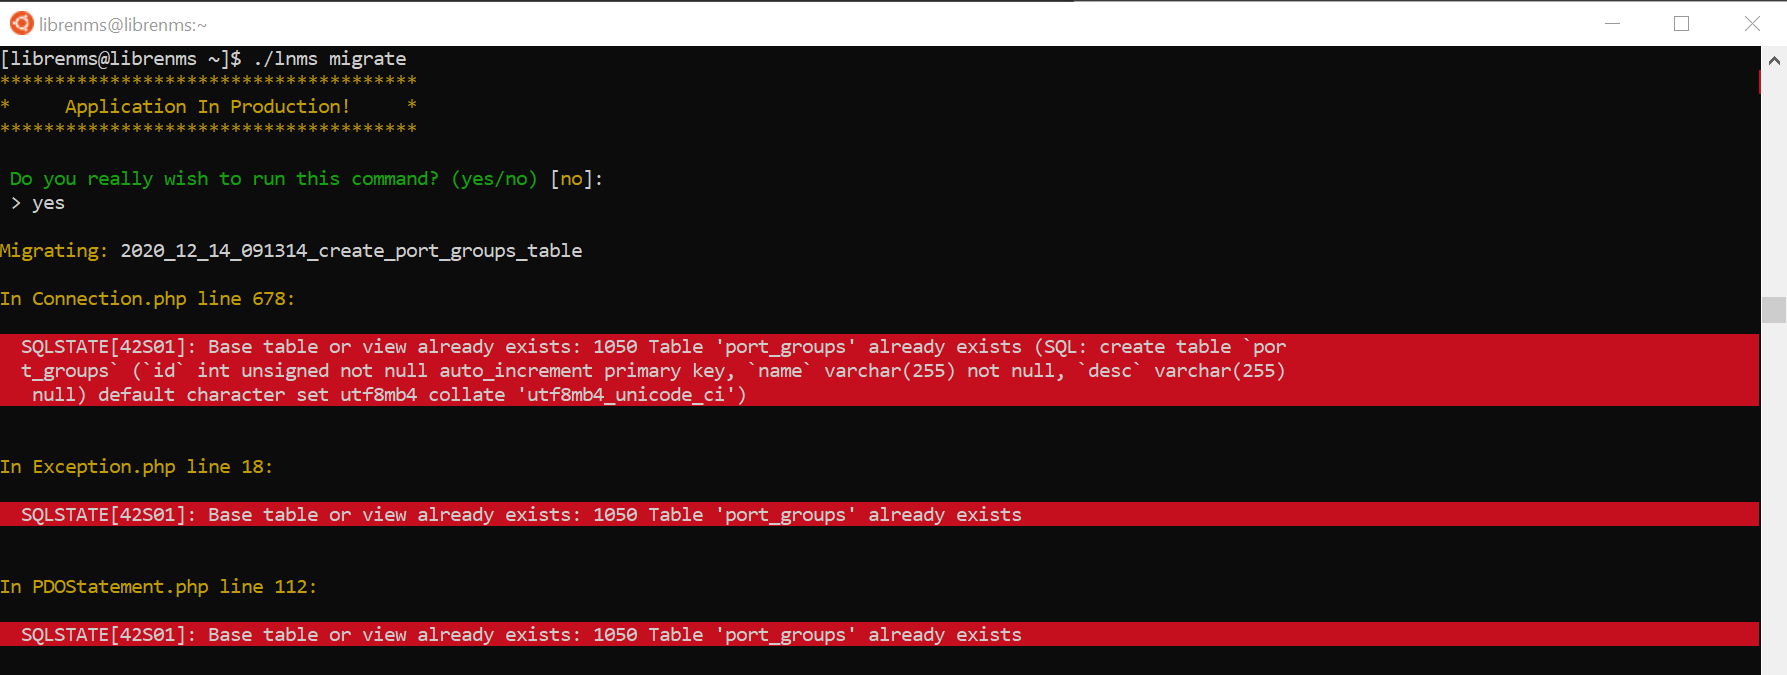
The above error can be resolved by dropping the port_groups table in mysql. You may double check that there is no information in the table. I checked this instance and it didn’t have any data in the table so I dropped it with
drop table port_groups;
I then ran the lnms command again and it created the table and started migrating.
LibreNMS stores all it’s files in /opt/librenms
Quick and easy way to back up the LibreNMS files is to use tar.
tar zcvf librenms_backup.tgz /opt/librenms
Migrating Database
I believe you can copy the whole /var/lib/mysql directory. Should be able to use the above command. If not you can do a mysqldump and then import it on the new system.
You may get the following alert in LibreNMS. Basically you need to install python 3 to keep things up to date.
Python 3 is required to run LibreNMS as of May, 2020. You need to install Python 3 to continue to receive updates. If you do not install Python 3 and required packages, LibreNMS will continue to function but stop receiving bug fixes and updates.
Install Python 3
Install Python 3 with yum, or apt if you are on a Debian based distro.